Lesson: Kaitcetera Paper Quilts


[all photos courtesy of Kait Neely via http://www.kaitcetera.com/]
Kait Neely is a Winston-Salem-based artist known for her colorful, imaginative quilts. You can see more examples of her beautiful work on her website.
Mimicking quilt patterns with paper scraps is a great way to encourage creativity while also developing math skills! As you place you pieces, notice how the lines and angles fit together, and how simple shapes combine to make more complex ones. For this project, you can use any paper you have around the house – newspapers, magazines, junk mail, even cereal boxes – to create unique and dynamic paper quilts.

Kait Neely-Inspired Paper Quilt Squares by Betsey McLawhorn and Lauren Ling
Goals:
- Connect students with a local artist while developing elements of design and problem solving.
- Gain knowledge in different mediums while applying principle of paper collage to a form that typically uses fabric.
Materials:
- 8×8 or 12×12 inch squares (white and black)
- Hole Punch
- Lacing yarn
- Assorted scrap papers that mimic fabric prints
- Assorted cardstock
- Paper cutter
- Scissors
- Ruler
- Glue Stick
Teacher Preparation:
- Pre-cut smaller squares (2×2, 4×4, 6×6 inches) of the scrapbook and cardstock.
- Pre-cut triangles (cut same size squares noted in step one in half diagonally) of the scrapbook and cardstock papers.
- Pre-cut diamonds and/or other shapes.
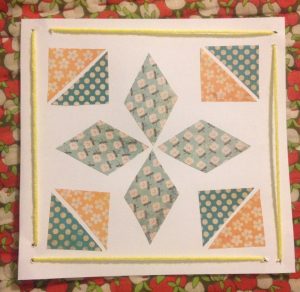
Paper Quilt by Annalise, age 7
Steps:
- Look at examples of Kait Neely’s quilt work.
- Choose the “fabric” – scrap papers and assorted cardstock – you want to work with. Think about the colors that work together – choose a print and look at colors that are used, bring those in with plain cardstock and/or other printed cardstock.
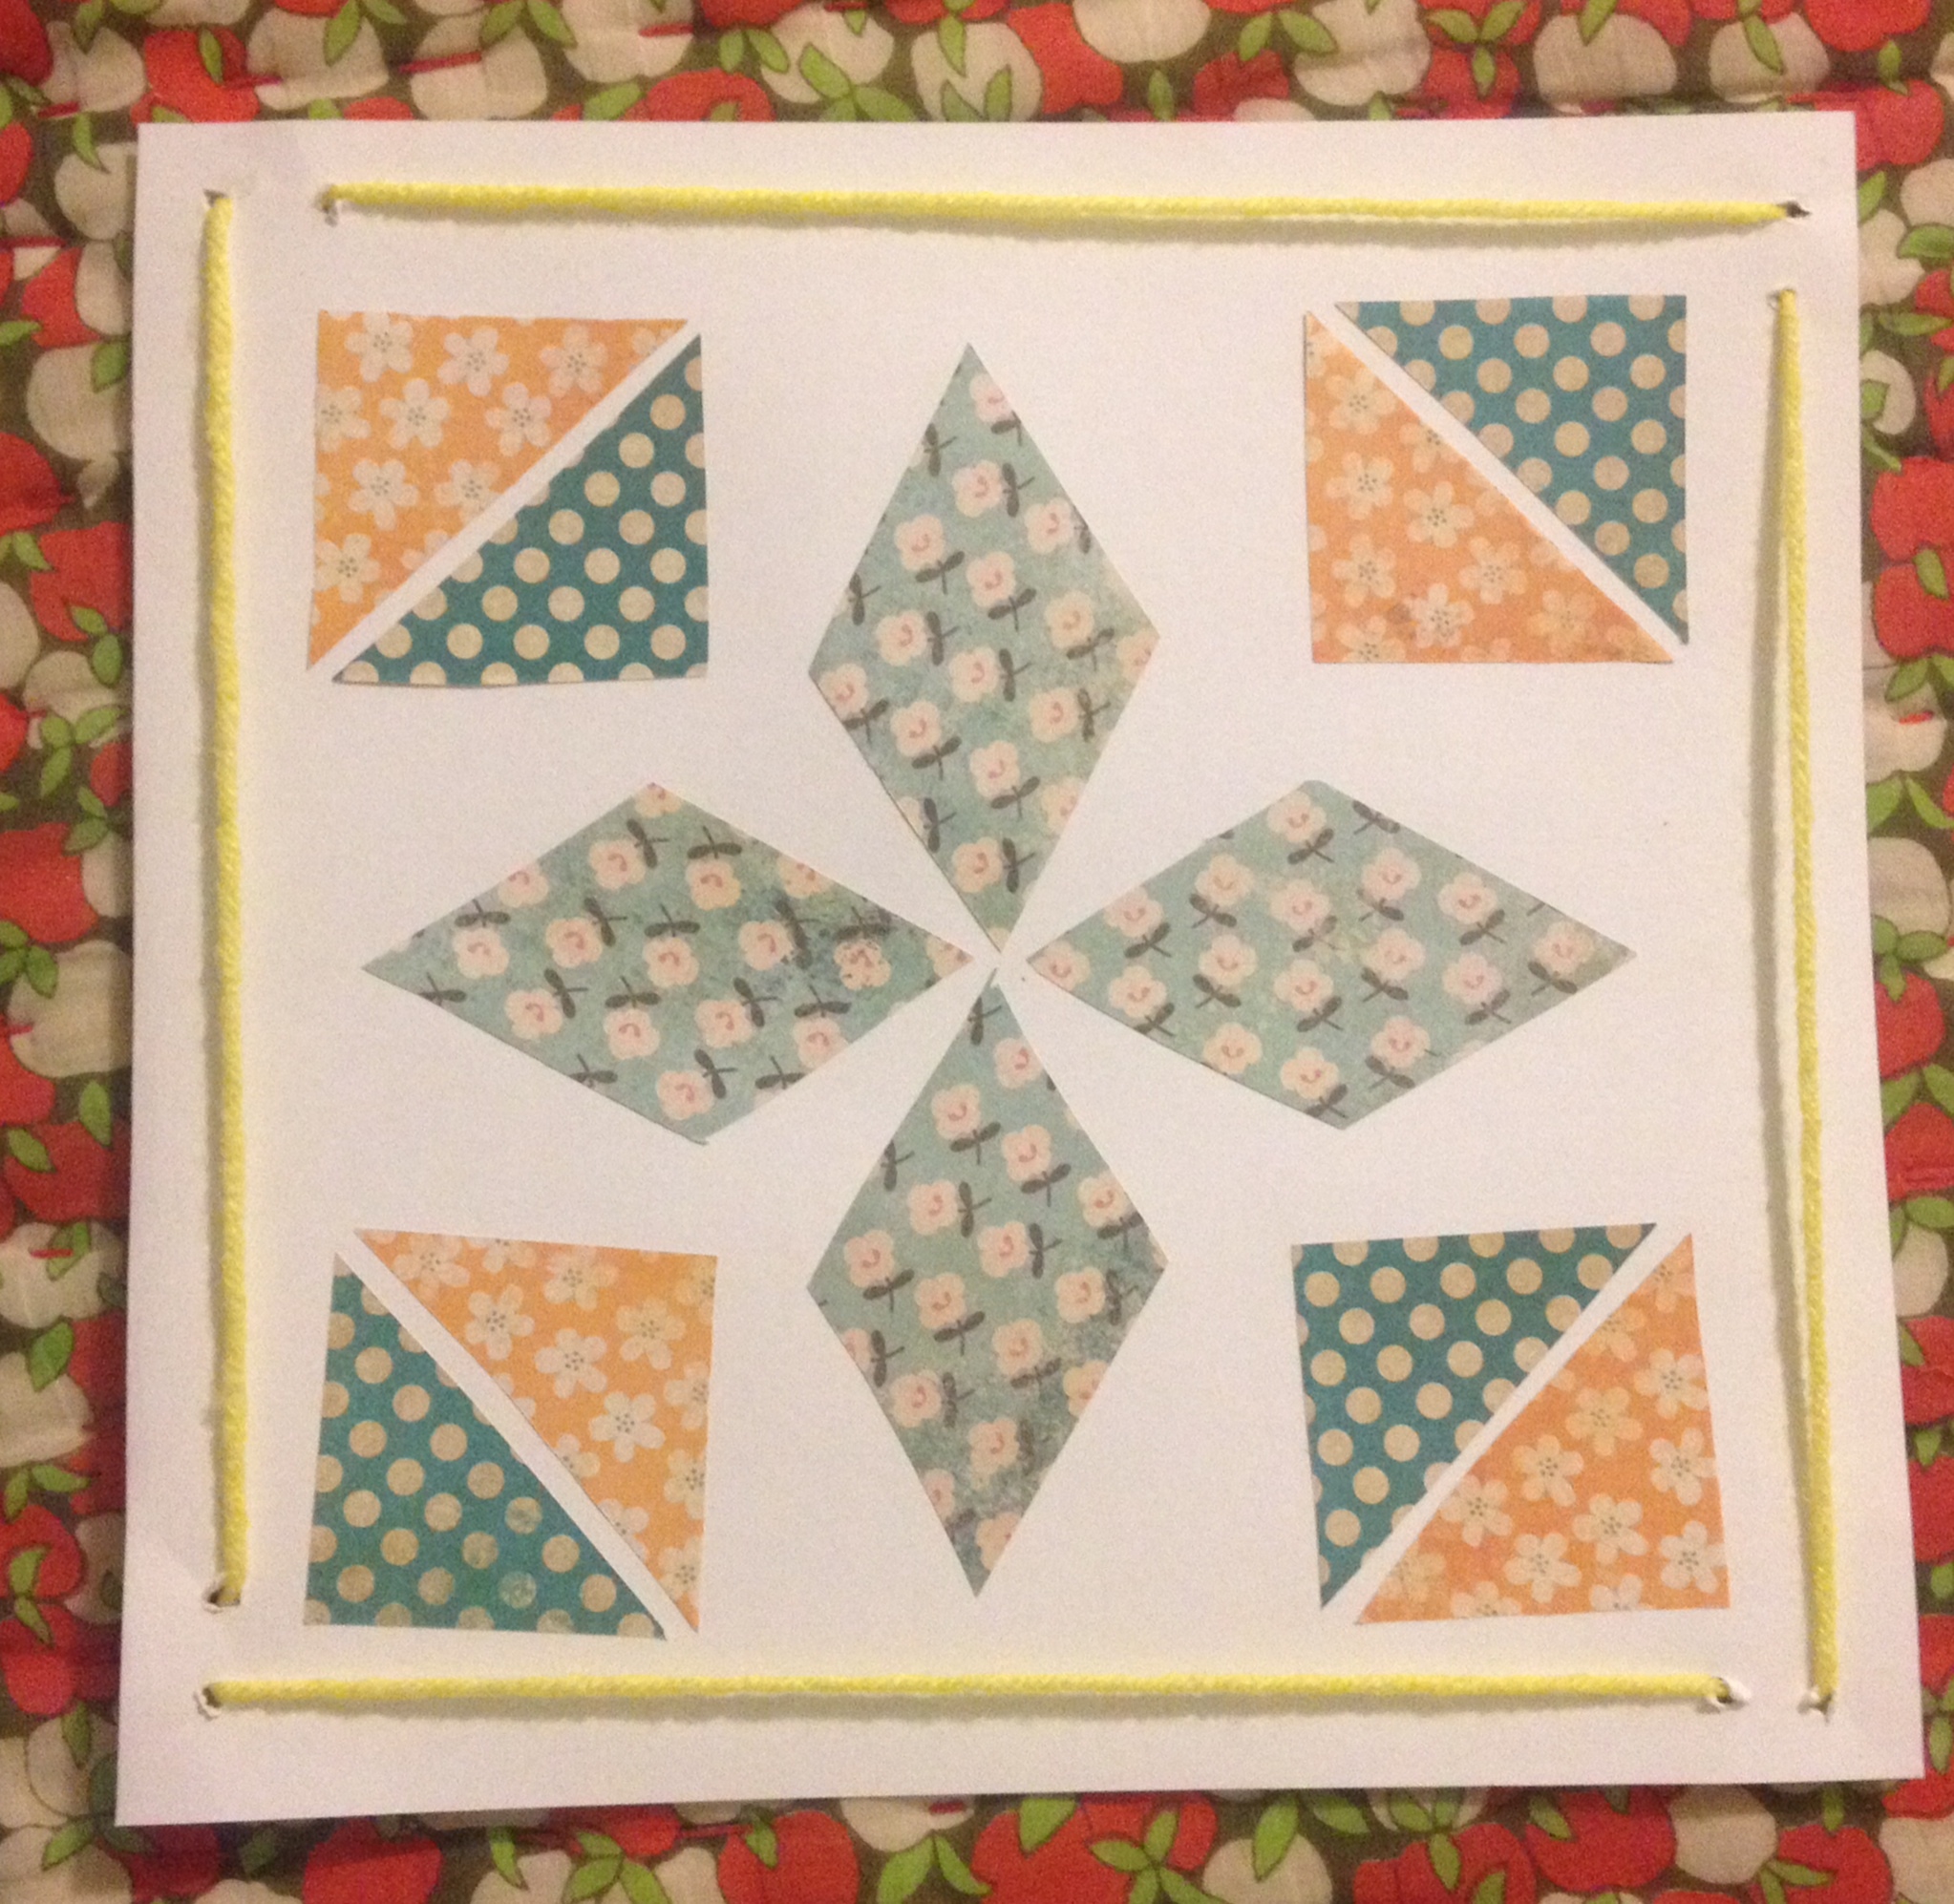
- Play with the layout. On a sheet of 8×8 or 12×12 inch paper, move the scrapbook and cardstock shapes to design a quilt square. Think symmetrically.
- Once all the pieces are laid out, glue down one by one.
- Punch two holes in each corner of the large square.
- Lace yarn through the holes.
Tweak It!
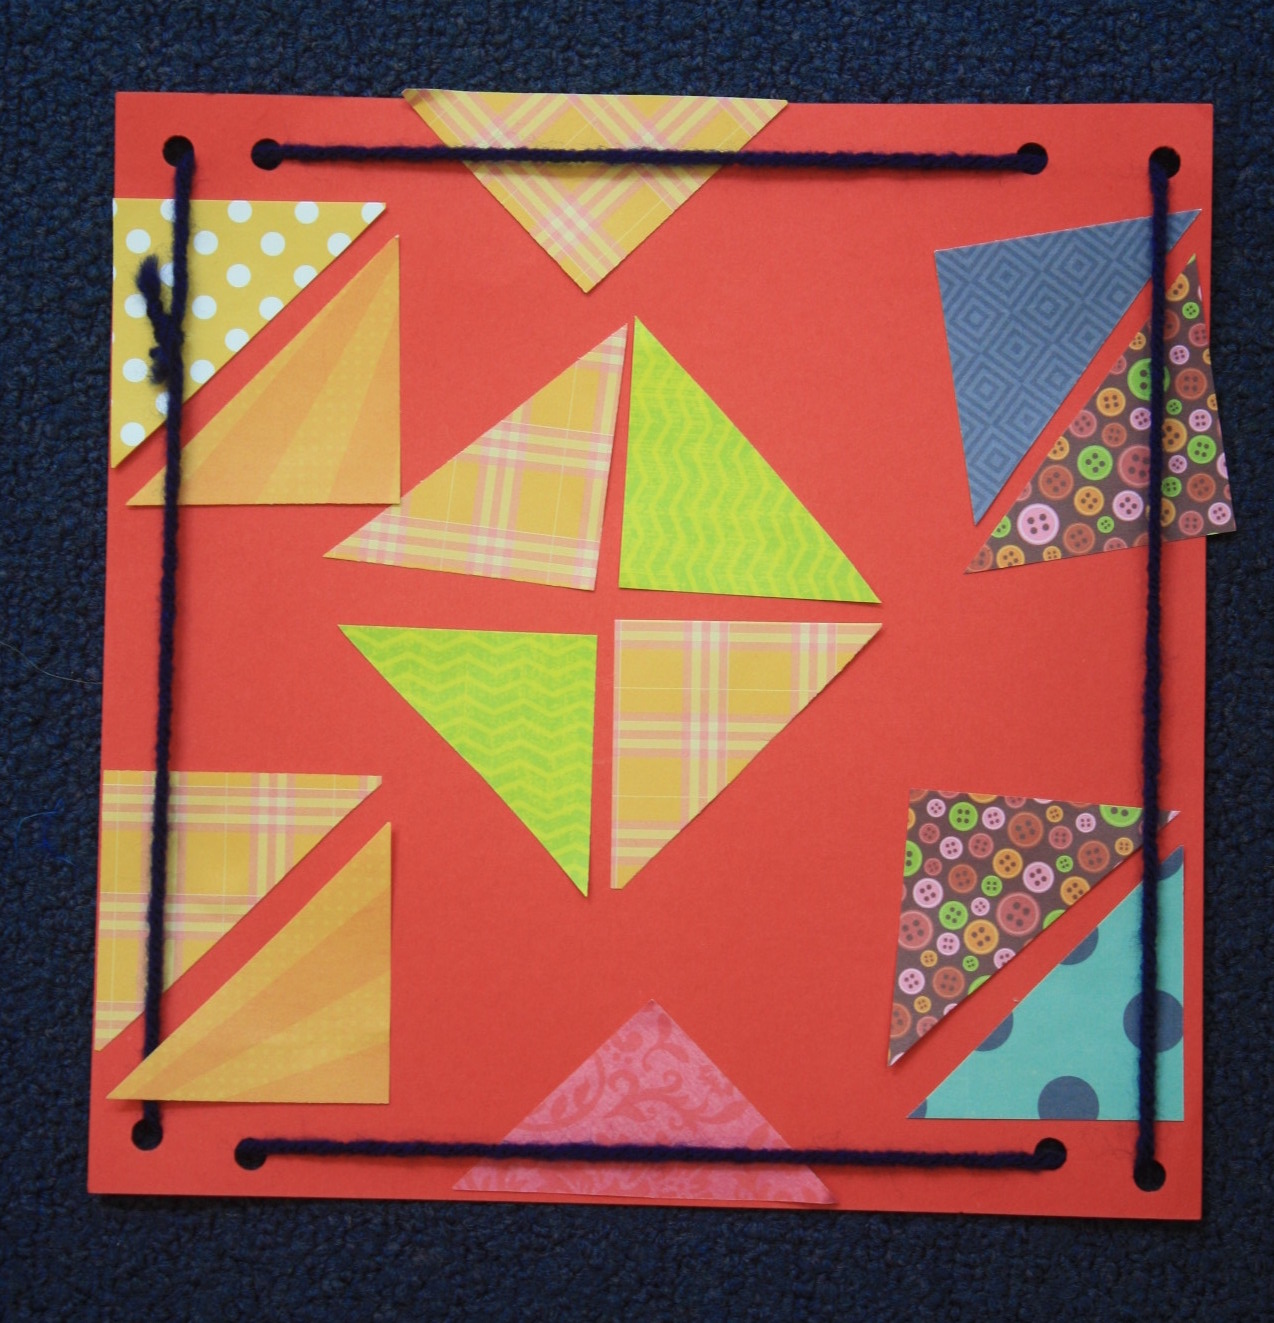
- For older students, cut shapes smaller and create a more intricate quilt square.
- Punch more holes to allow for more lacing on the edges.
- Incorporate sewing on the quilted area with a bold color of thread.
- Create your own “fabric” by using watercolor. Paint two to three sheets. Stamp with ink on top (if you have a long time, you can create your own lino or foam stamps).
Save