C R E A T E: Cubism Self-Portraits
As the first month of the year, January often signals a fresh new start. And fresh new starts naturally inspire introspection and self-exploration. This self-portrait lesson is the perfect art project to honor this inspiration. What’s more, all you need are some scraps of paper and your favorite drawing tools.
Go ahead: wriggle into your coziest socks, grab a mug of hot tea, and carve out an hour this Saturday to create a piece of art just for yourself.
Level: ages 5+
Time Frame: 30-45 minutes
Goals
- To learn to draw facial features by utilizing the basic elements of drawing.
- To emulate the work of cubist artists like Picasso.
- To encourage creative self-exploration and –expression through writing and drawing.
Materials
- Scrap Cardstock cut into geometric shapes (not more than 3” wide or tall)
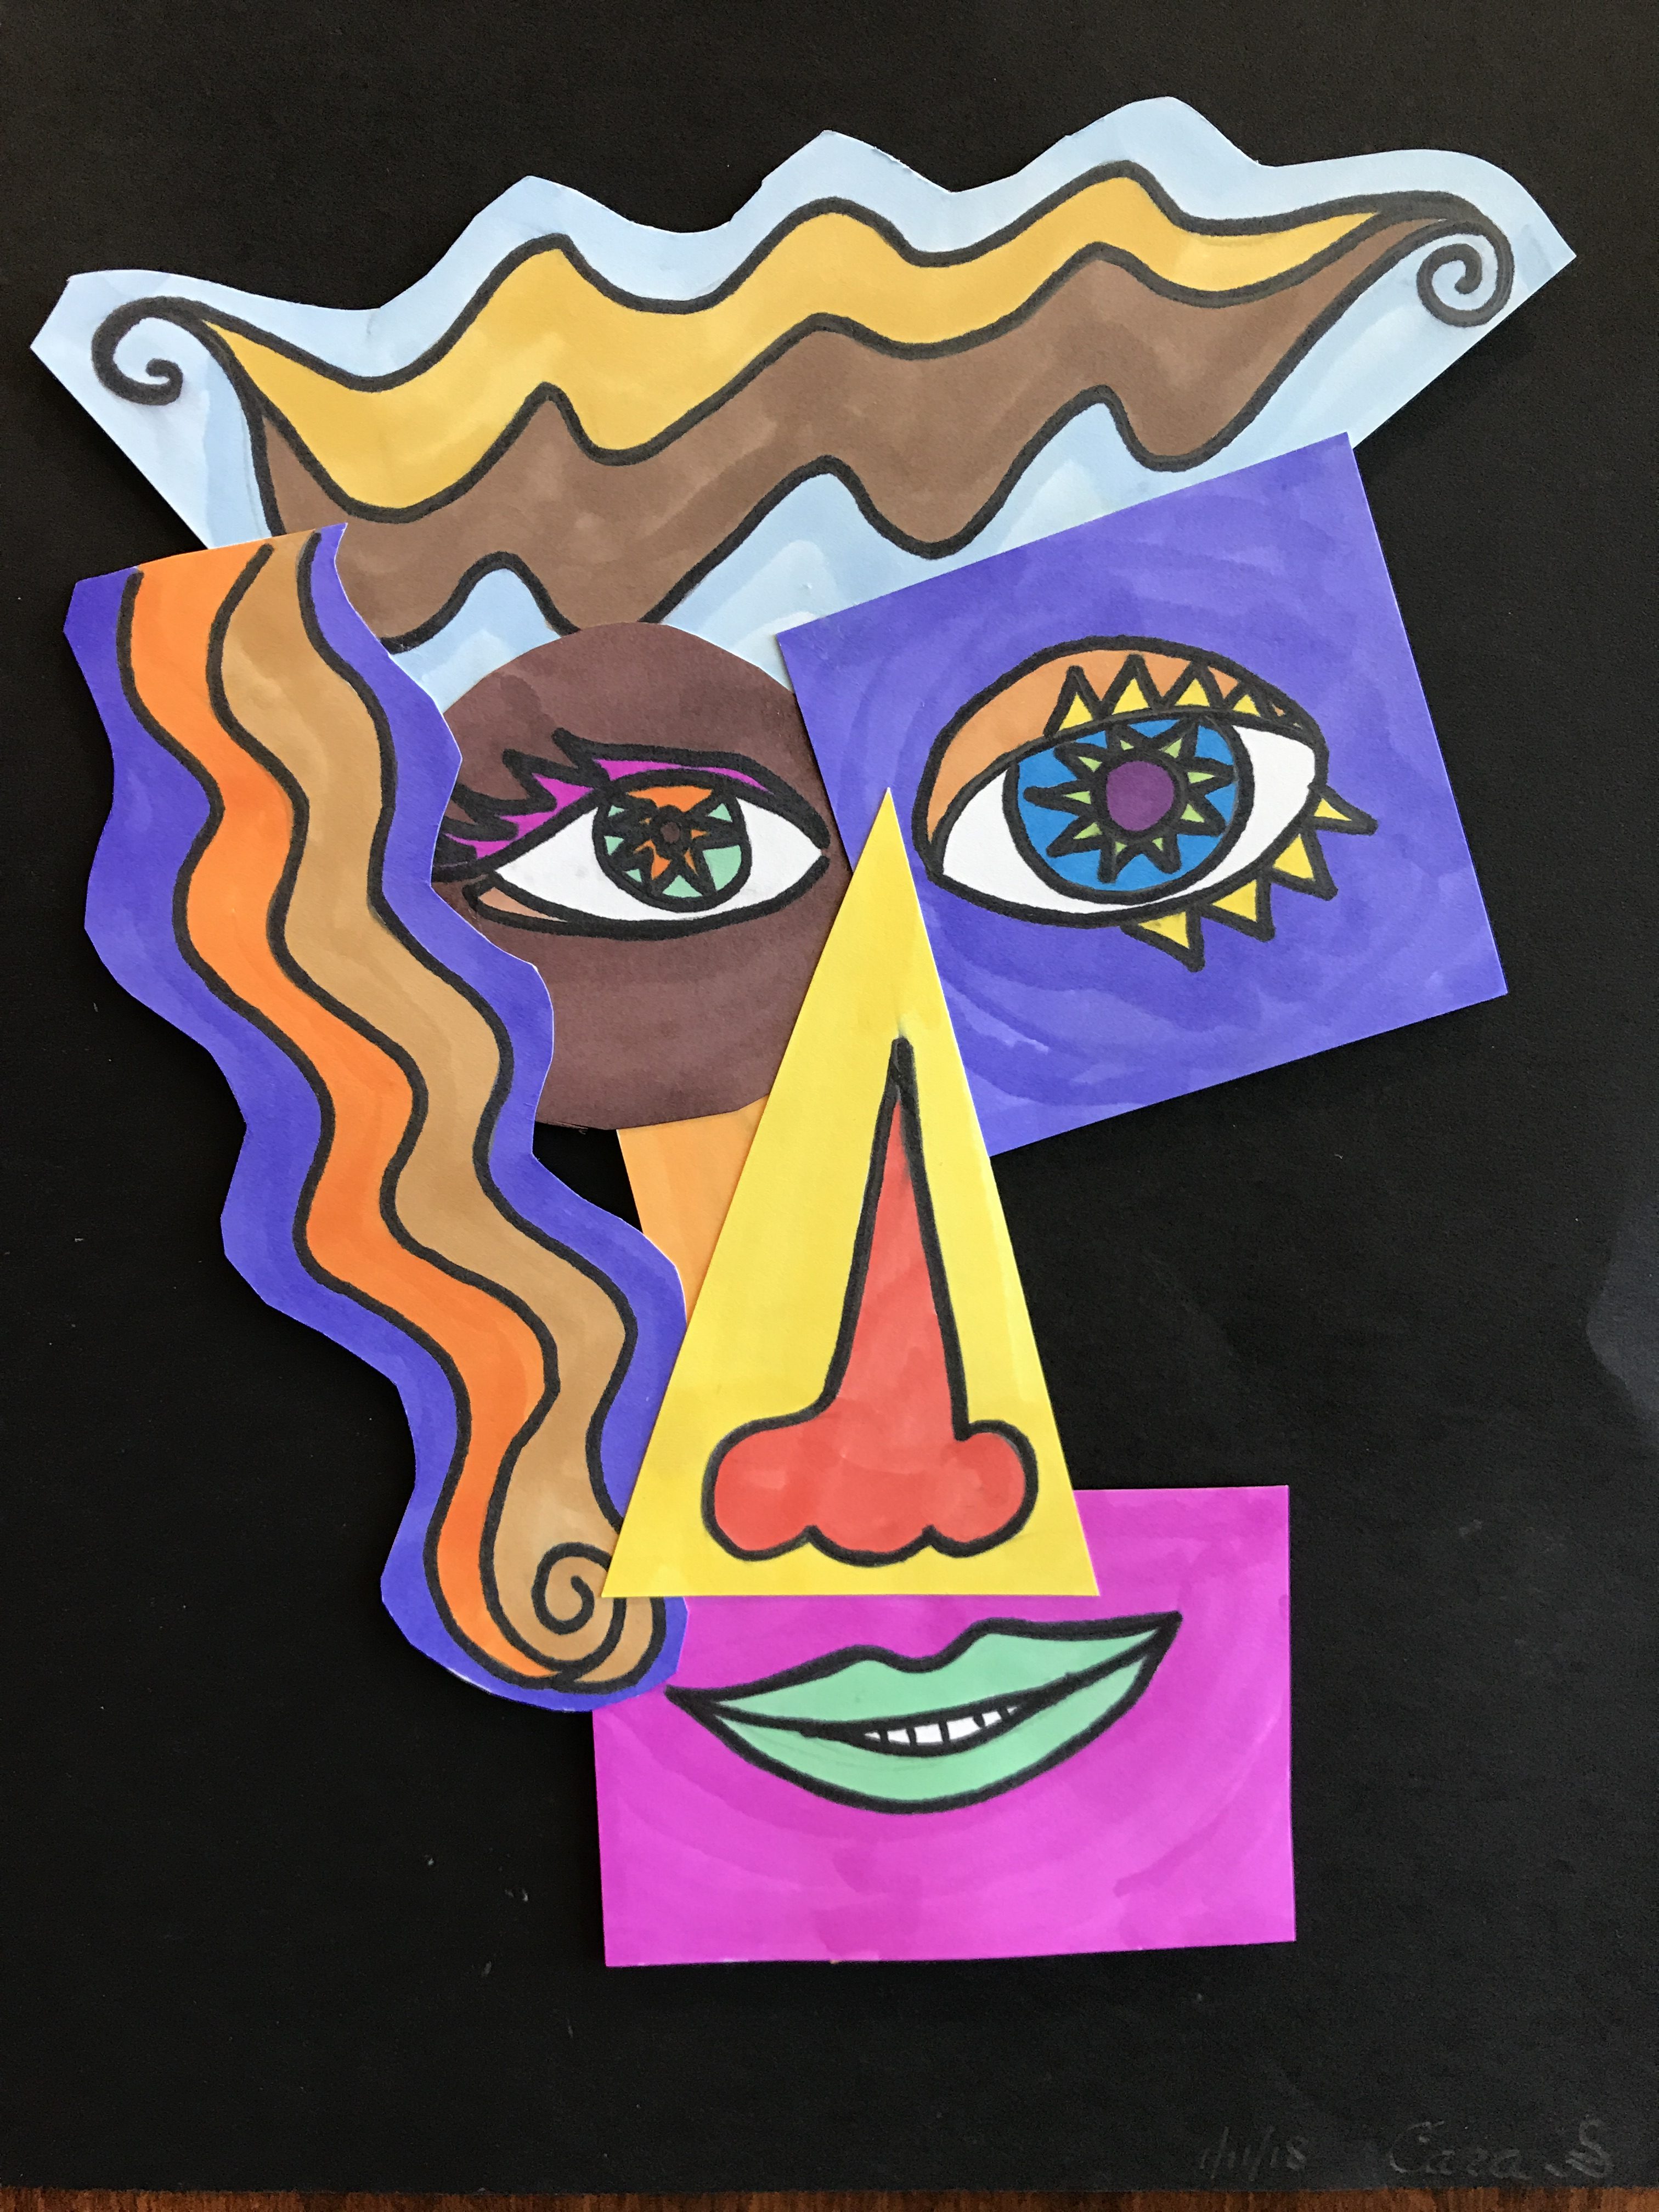
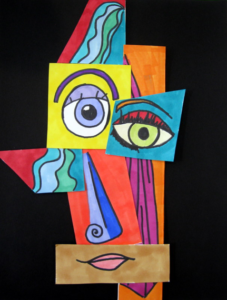
Self portrait by Arts For Life teacher Cara.
- Pencil
- Face-drawing resources such as Drawing Faces (Usborne book of Art Ideas) or Ed Emberley’s Drawing Book of Faces
- Black Sharpie
- Markers, colored pencils, or oil pastels
- Glue Stick
- Foam double-sided sticky squares (to add dimension)
- 8.5×11″ black paper
Directions
- Talk about the work of cubist painters like Picasso. Notice how painters in this style often depicted the features of their portrait subjects from several angles at the same time. In this project, we will break down a portrait into different elements and draw each separately and independently of one another.
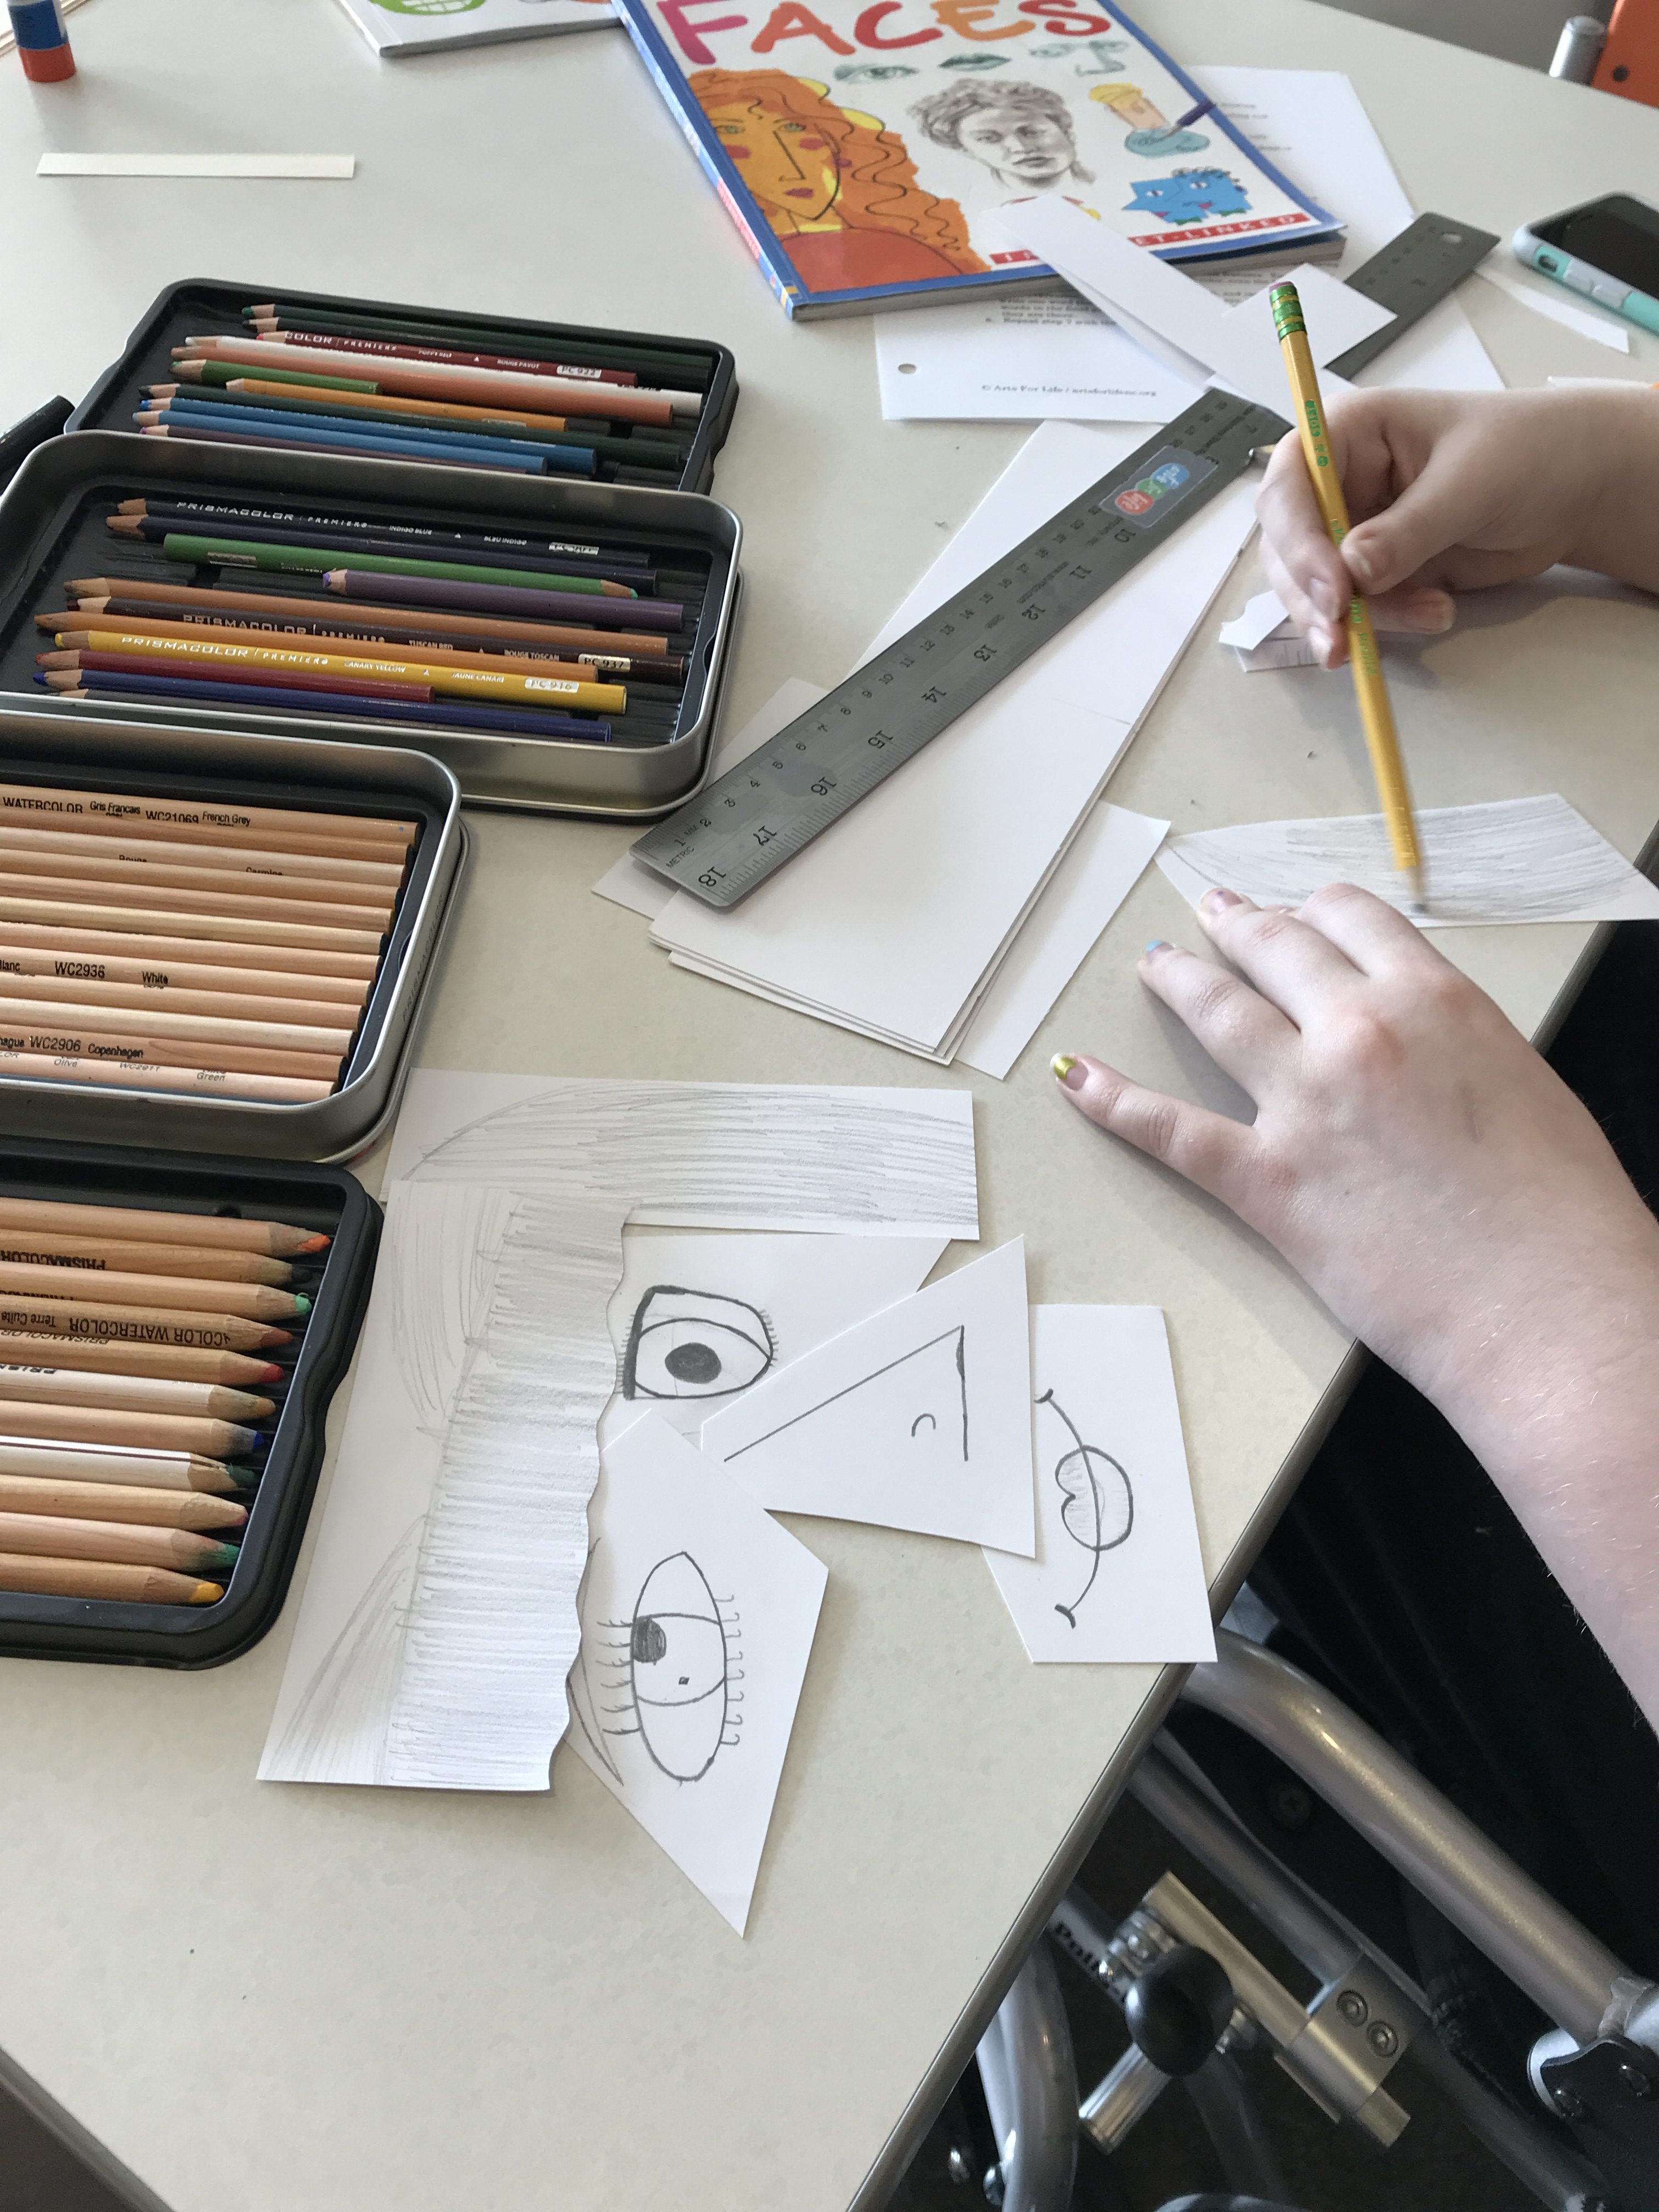
- Look at resources like the ones mentioned above. Notice how there are many ways to draw eyes, ears, noses, mouths, eyebrows, and hair.
- Begin with one eye. On one of your pieces of scrap cardstock, use a pencil to draw any type of eye you wish. Make sure it takes up most of the paper.
- Repeat step 3 with each facial feature. Challenge yourself to make each one in a different style than the others.
- Trace over each drawing with black Sharpie.
- Use markers, colored pencils, or oil pastel to color in your facial features. Each piece of cardstock should be filled completely with color, even the background. Choose bright and varied colors.
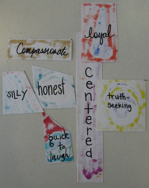
- Beginning with the first eye you started with, and inspired by the drawing style, expression, and colors you chose for the eye, turn the paper over and write one word that describes you in black Sharpie. You won’t see these words in the final product of your project, but you, as the artist will know they are there.
- Repeat step 7 with the rest of your facial features.
- Using a strip of cardstock that is 1.5”X6” as your base, arrange your individual features together. They may overlap or be glued at an angle—the arrangement is up to you. You may even decide to turn one or two features over to display the word on the backside. Once you are happy with the arrangement, glue the pieces together using glue stick. You can write your name or the word “ME” on the extra cardstock strip you added.
- Stick the foam pieces on the back of your portrait in 4-5 different places. Peel the backing off the squares and press the portrait onto your black paper.
Tweak It!
You can display the portrait and include the words by using silver sharpie to write the words you came up with around the portrait on the black paper.