
C R E A T E: Soap and Oil Pastel Diamonds
Have you ever drawn with SOAP? (Did you even know you could?)
This lesson is always a hit at the art table because it involves using a familiar material (bar soap) in a very unfamiliar way. Sometimes Arts For Life teachers put out the container of cut-up soap bar pieces and make kids guess what material it is before they use it. They’re always stumped! (Until we tell them to use their noses…:))
This lesson requires mat board, a very thick paper that is typically used in picture framing. You can find mat board in the framing section of any major craft store. It comes in large sheets, but you can ask the framing department to cut it for you before you leave the store. It’s a little more effort, but totally worth it for the beautiful graphic results.
Level: ages 5+
Time Frame: 30-60 min (Depending on detail)
Goals
- To gain understanding of symmetry by dividing a page into simple shapes
- To explore a different technique using oil pastels
Symmetry: the quality of having parts that match each other across both sides of a plane, line, or point.
Materials
- Black Mat Board, at least 8”x 10”
- Soap- small, thin travel size soap works best
- Oil Pastels ( IMPORTANT: Be sure you don’t grab the water soluble oil pastels by accident or the entire piece of art will wash away!)
- Large paint brush
- Sink
- Paper towels
- Optional: Mod Podge
Directions
- We’ll be using soap as a pencil today! Instead of a dark line on white paper, your soap will draw a white line on your black mat board.
- Use your soap to mark the center of your board. Next, make a mark in the center of all four sides of your page, leaving about a one inch (imaginary) border around the edge.
- Connect the four marks you’ve just made to create a diamond shape. Now, you will need to divide your diamond into four sections by drawing a horizontal line across the center of the diamond, and a vertical line from the top to the bottom of your diamond.
- You will now separate your diamond with straight lines that divide the left and right sides into smaller shapes, all the time thinking about a mirror image, or a symmetrical image. Once you divide a section on one side, you will then repeat the same division on the other side. Trace back and forth over your lines to make them thicker.
- Once your diamond is separated, create a design to fill up the background, or what is behind your diamond. Again, make sure that the designs you draw in one area correspond to the designs in the other areas to create symmetry.
- Color in the sections with oil pastels, once again remembering that the colors need to be symmetrical. Make sure to push down a little on the oil pastel to fill in all the black space to make solid blocks of color. Color right up next to — but not on top of — your soap lines.
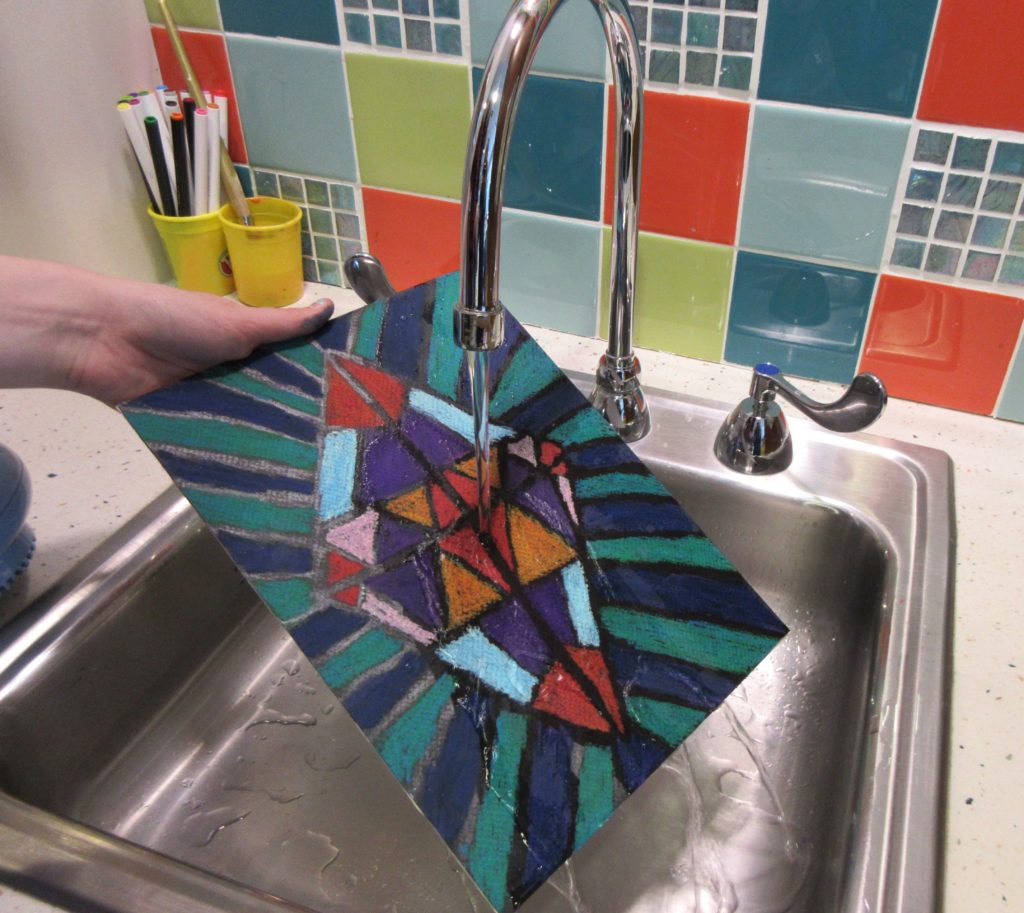
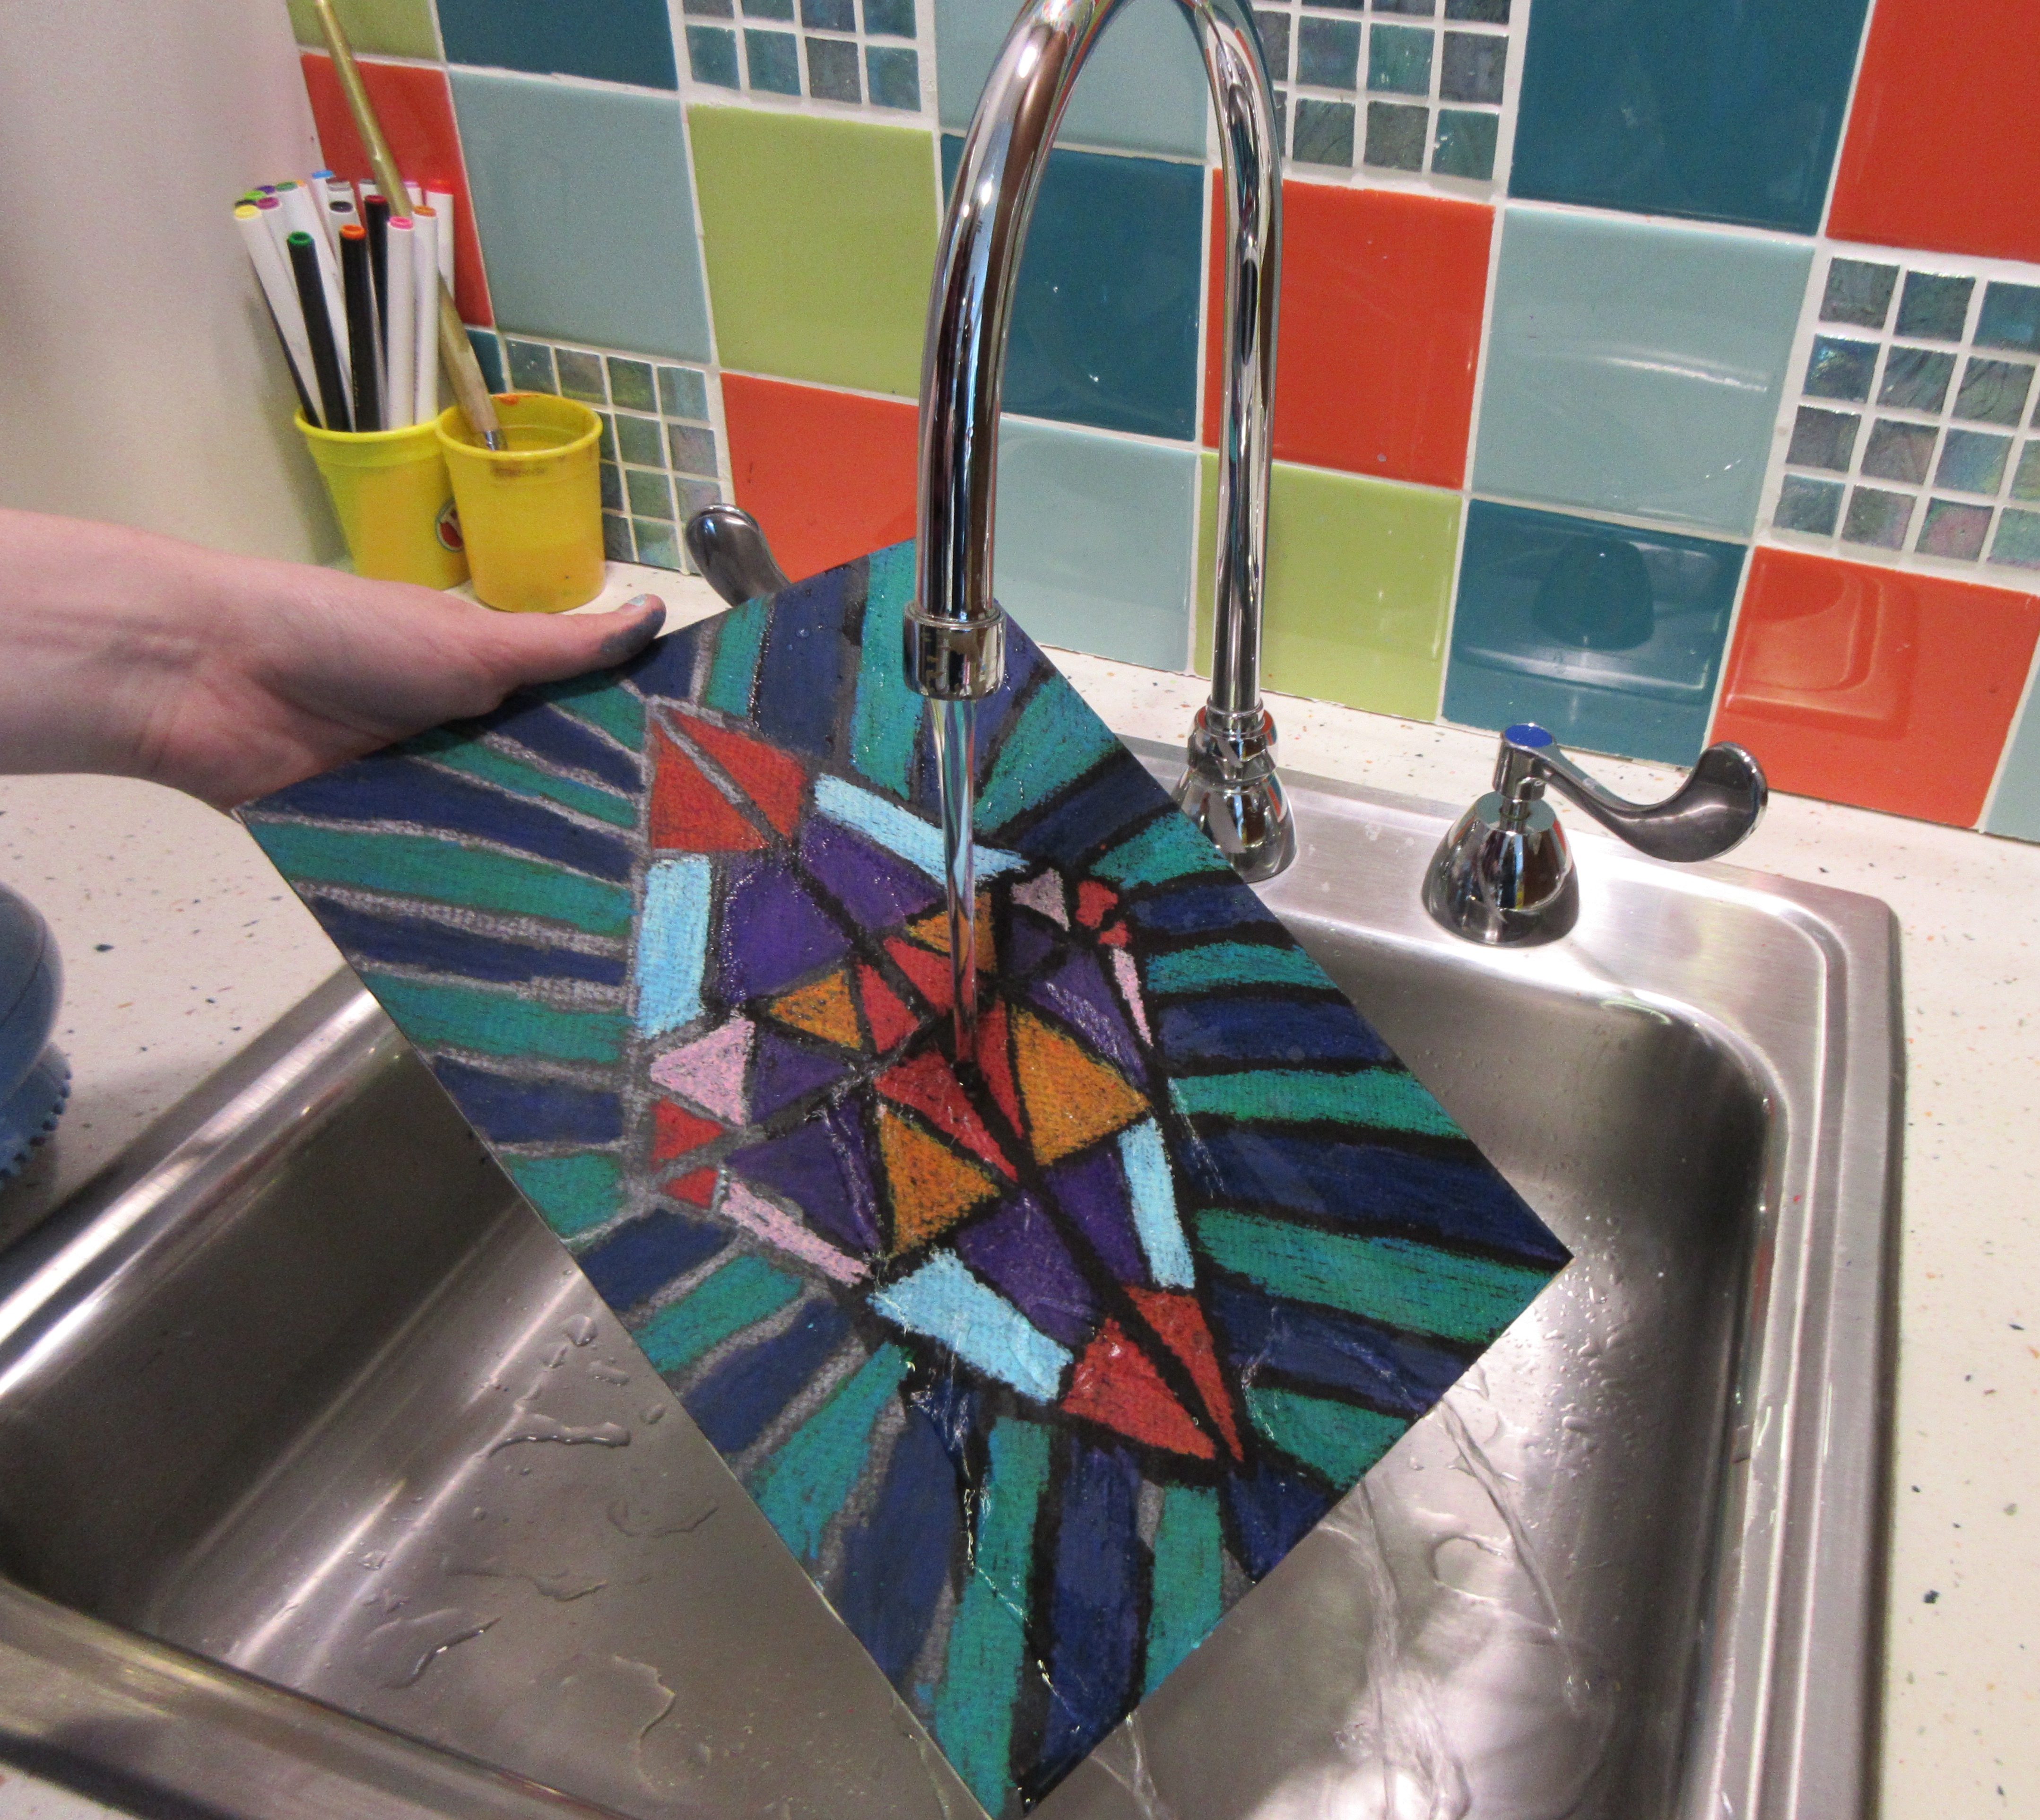
- Once you have colored in the entire mat board, and the only areas not colored are the white soap lines, you are ready to wash off the soap.
- Run a small amount of cold water over the mat board and wet your brush. Brush off the soap, running more water on top of the board as needed to remove all the soap.
- Pat dry with paper towels.
- If you like, you can paint a layer of Mod-Podge over it to create an even surface.
Tweak It!
- Use this process with any design or pattern.
- Use a bright colored mat board for a different effect.