C R E A T E: Moveable Lizards
It’s the simple things.
Sometimes you give a young artist a piece of blank paper, cut into a certain shape, and it’s just enough: enough to inspire imagination, to ignite curiosity, to spark some new way of thinking.
At Arts For Life, we do a lot of hands-on research when it comes to writing lessons, and we happen to think we’re pretty darn good at it. But writing a good lesson doesn’t always mean incorporating some new technique, or involving a laundry list of materials. In fact, sometimes the best lesson for the moment is just the opposite: streamlined, pared-down, and just waiting for an artist’s touch.
Goals: 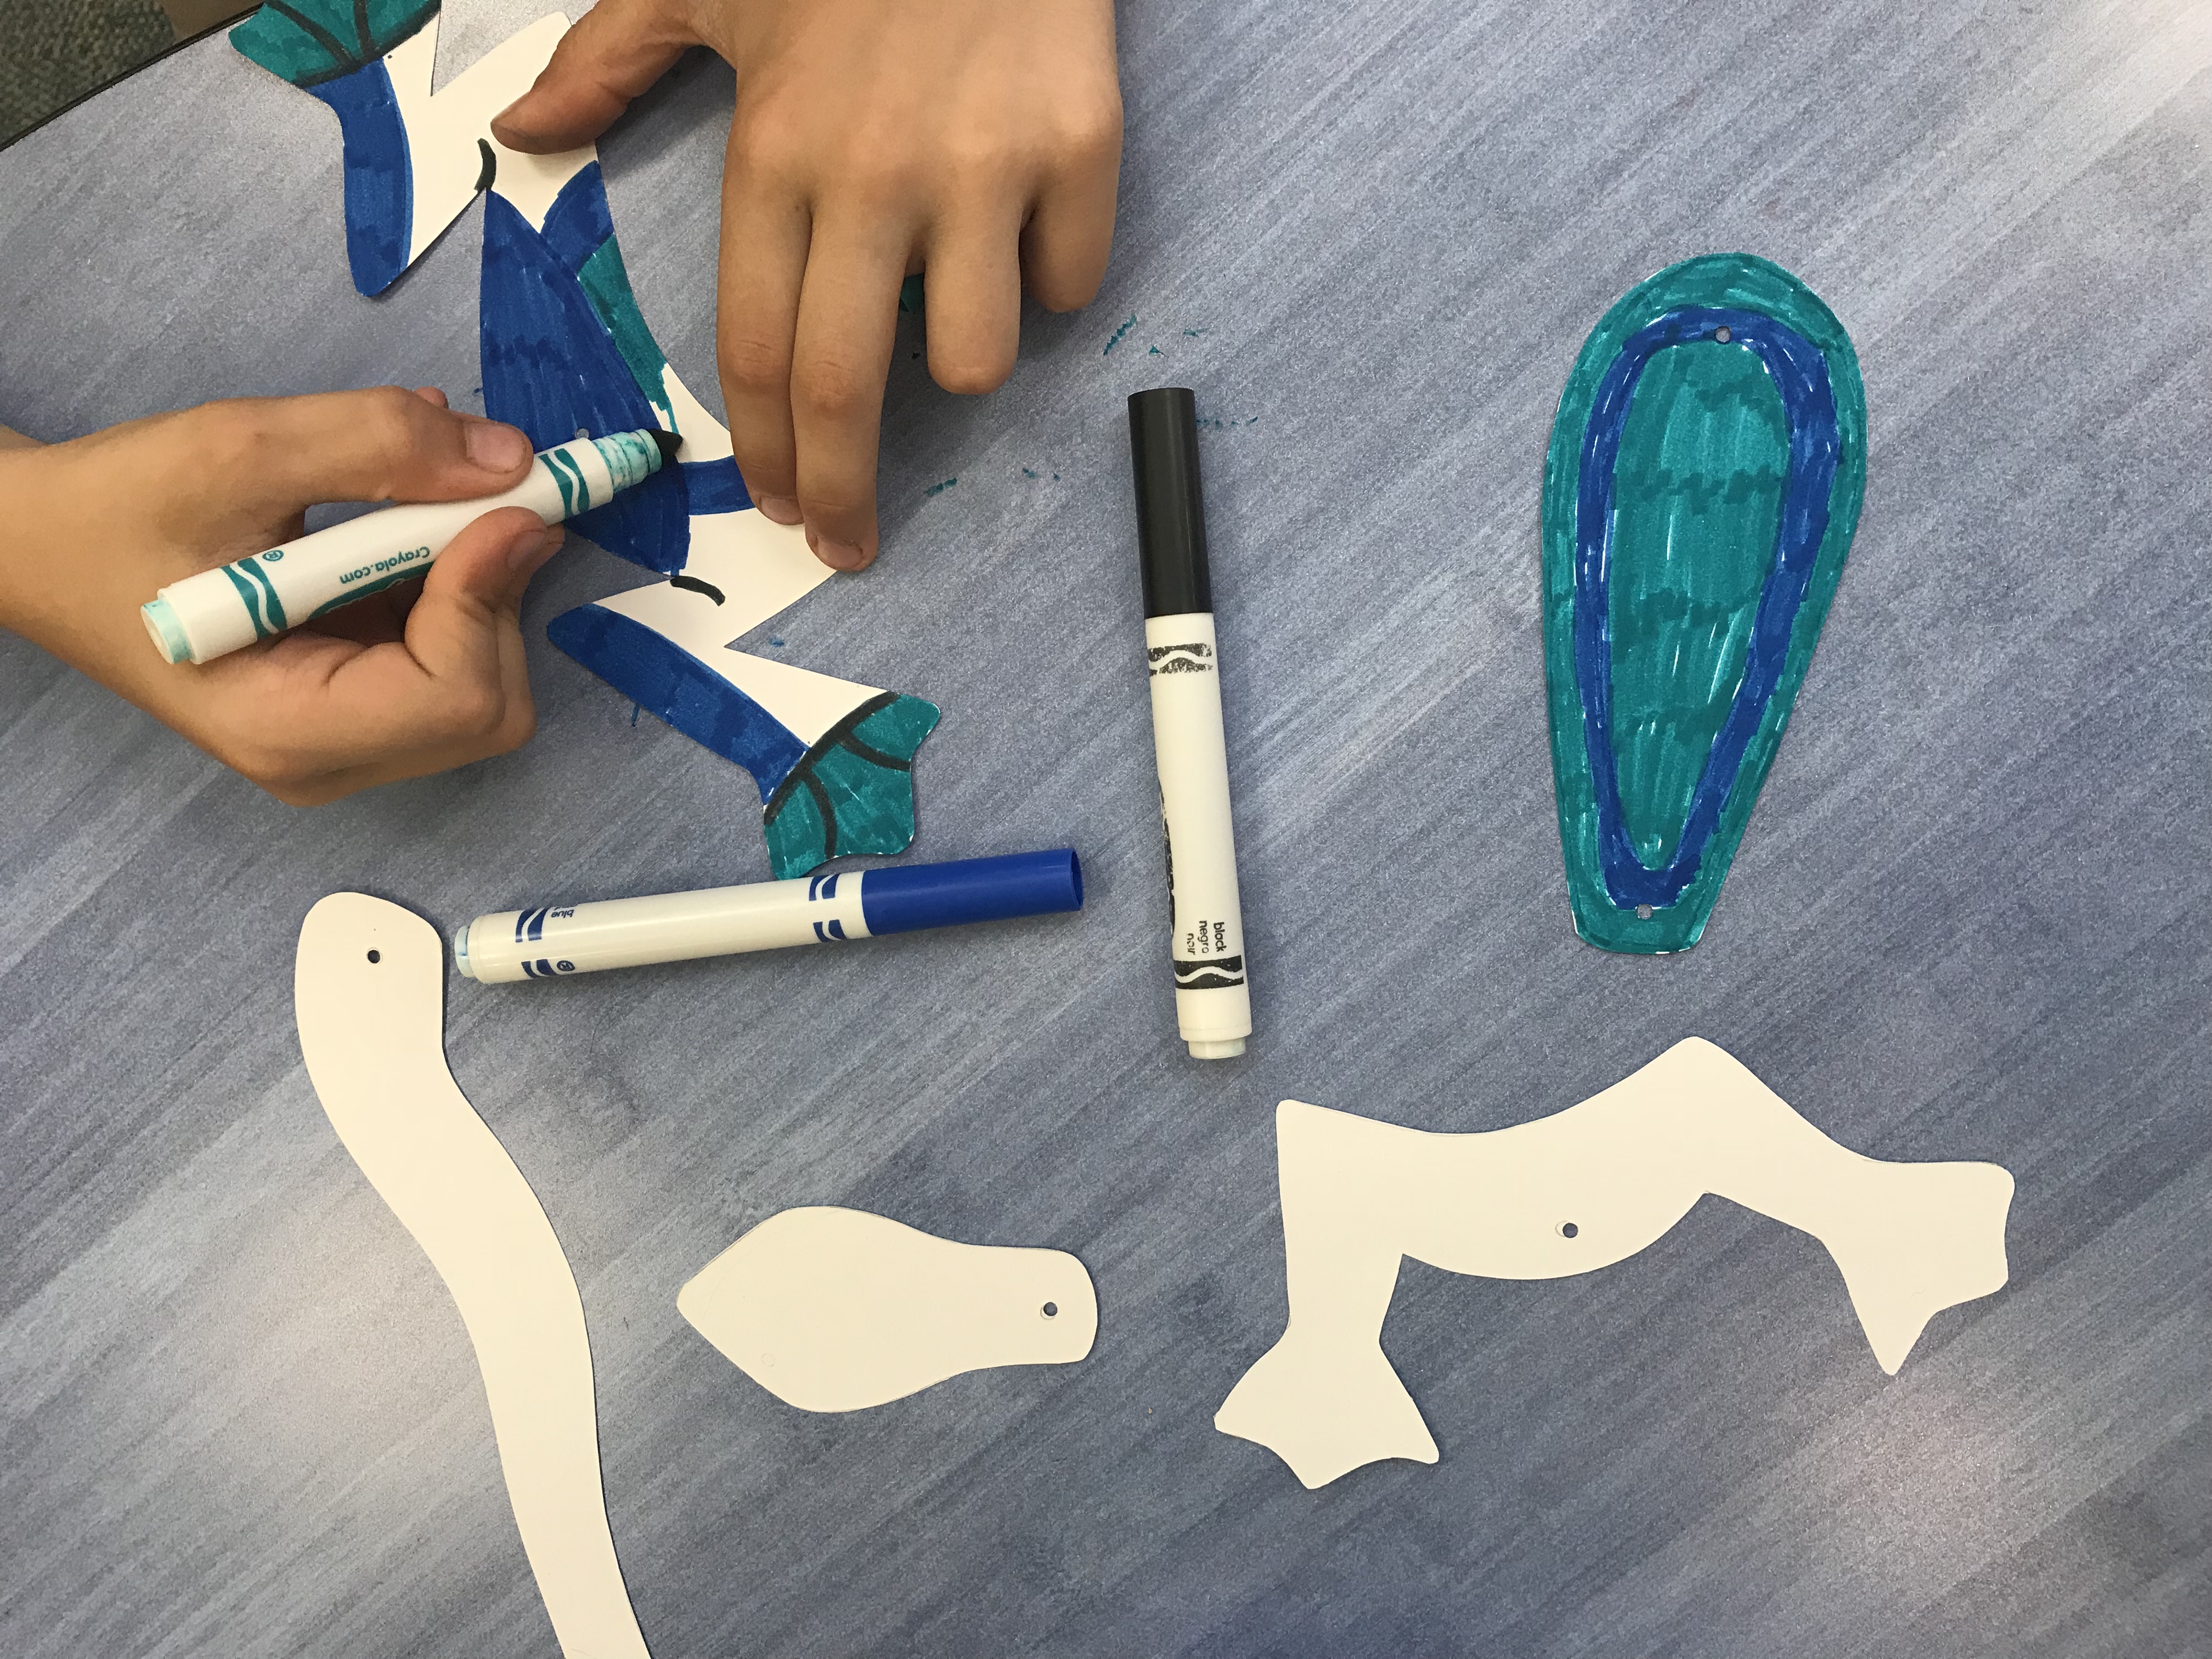
- To learn how to make a 2D puppet move by using brads at the joints
- To learn to construct an object or animal by assembling its individual parts
- To practice fine motor skills by placing each brad into the pre-punched hole provided
Vocabulary:
>joint– the point at which parts are joined together and can move (ex. wrist, elbow)
Materials
- MovingLizard templates
- Pencil
- White Cardstock
- Scissors
- Small/Regular Hole punch
- Googly eyes/tacky glue
- Brads (2 per lizard)
- Colored markers, pencils, crayons, oil pastels
Directions:
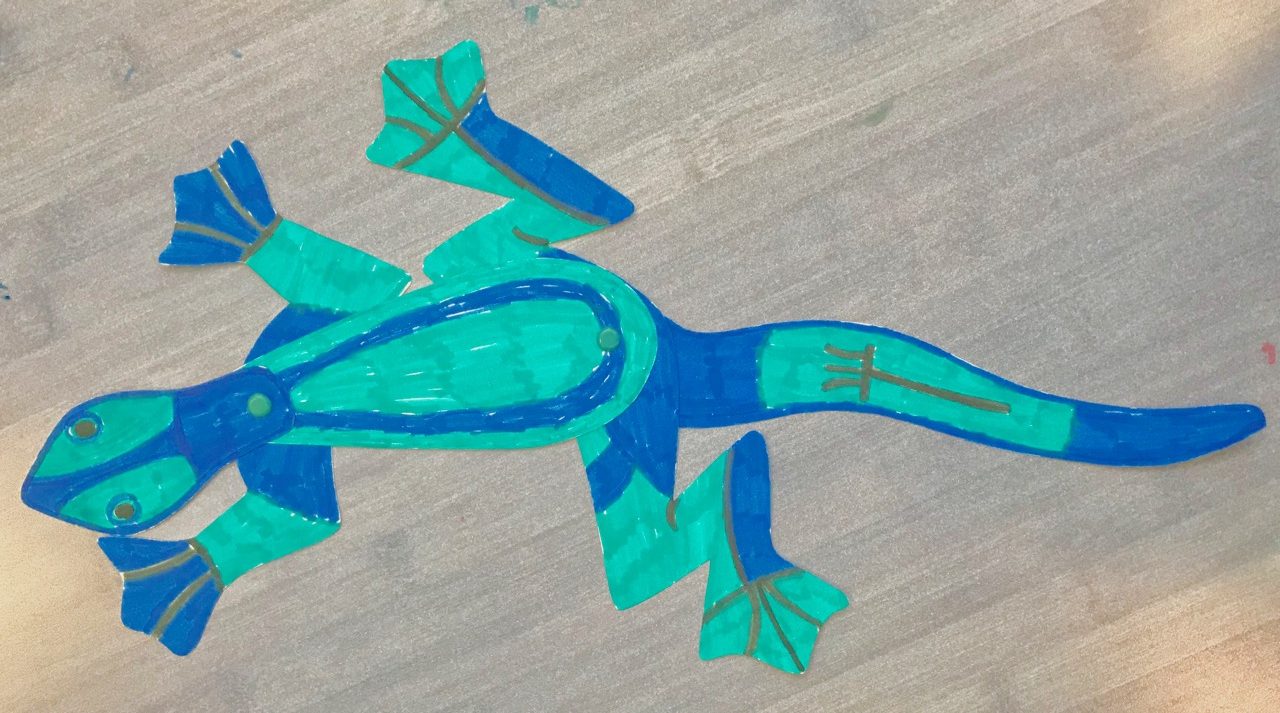
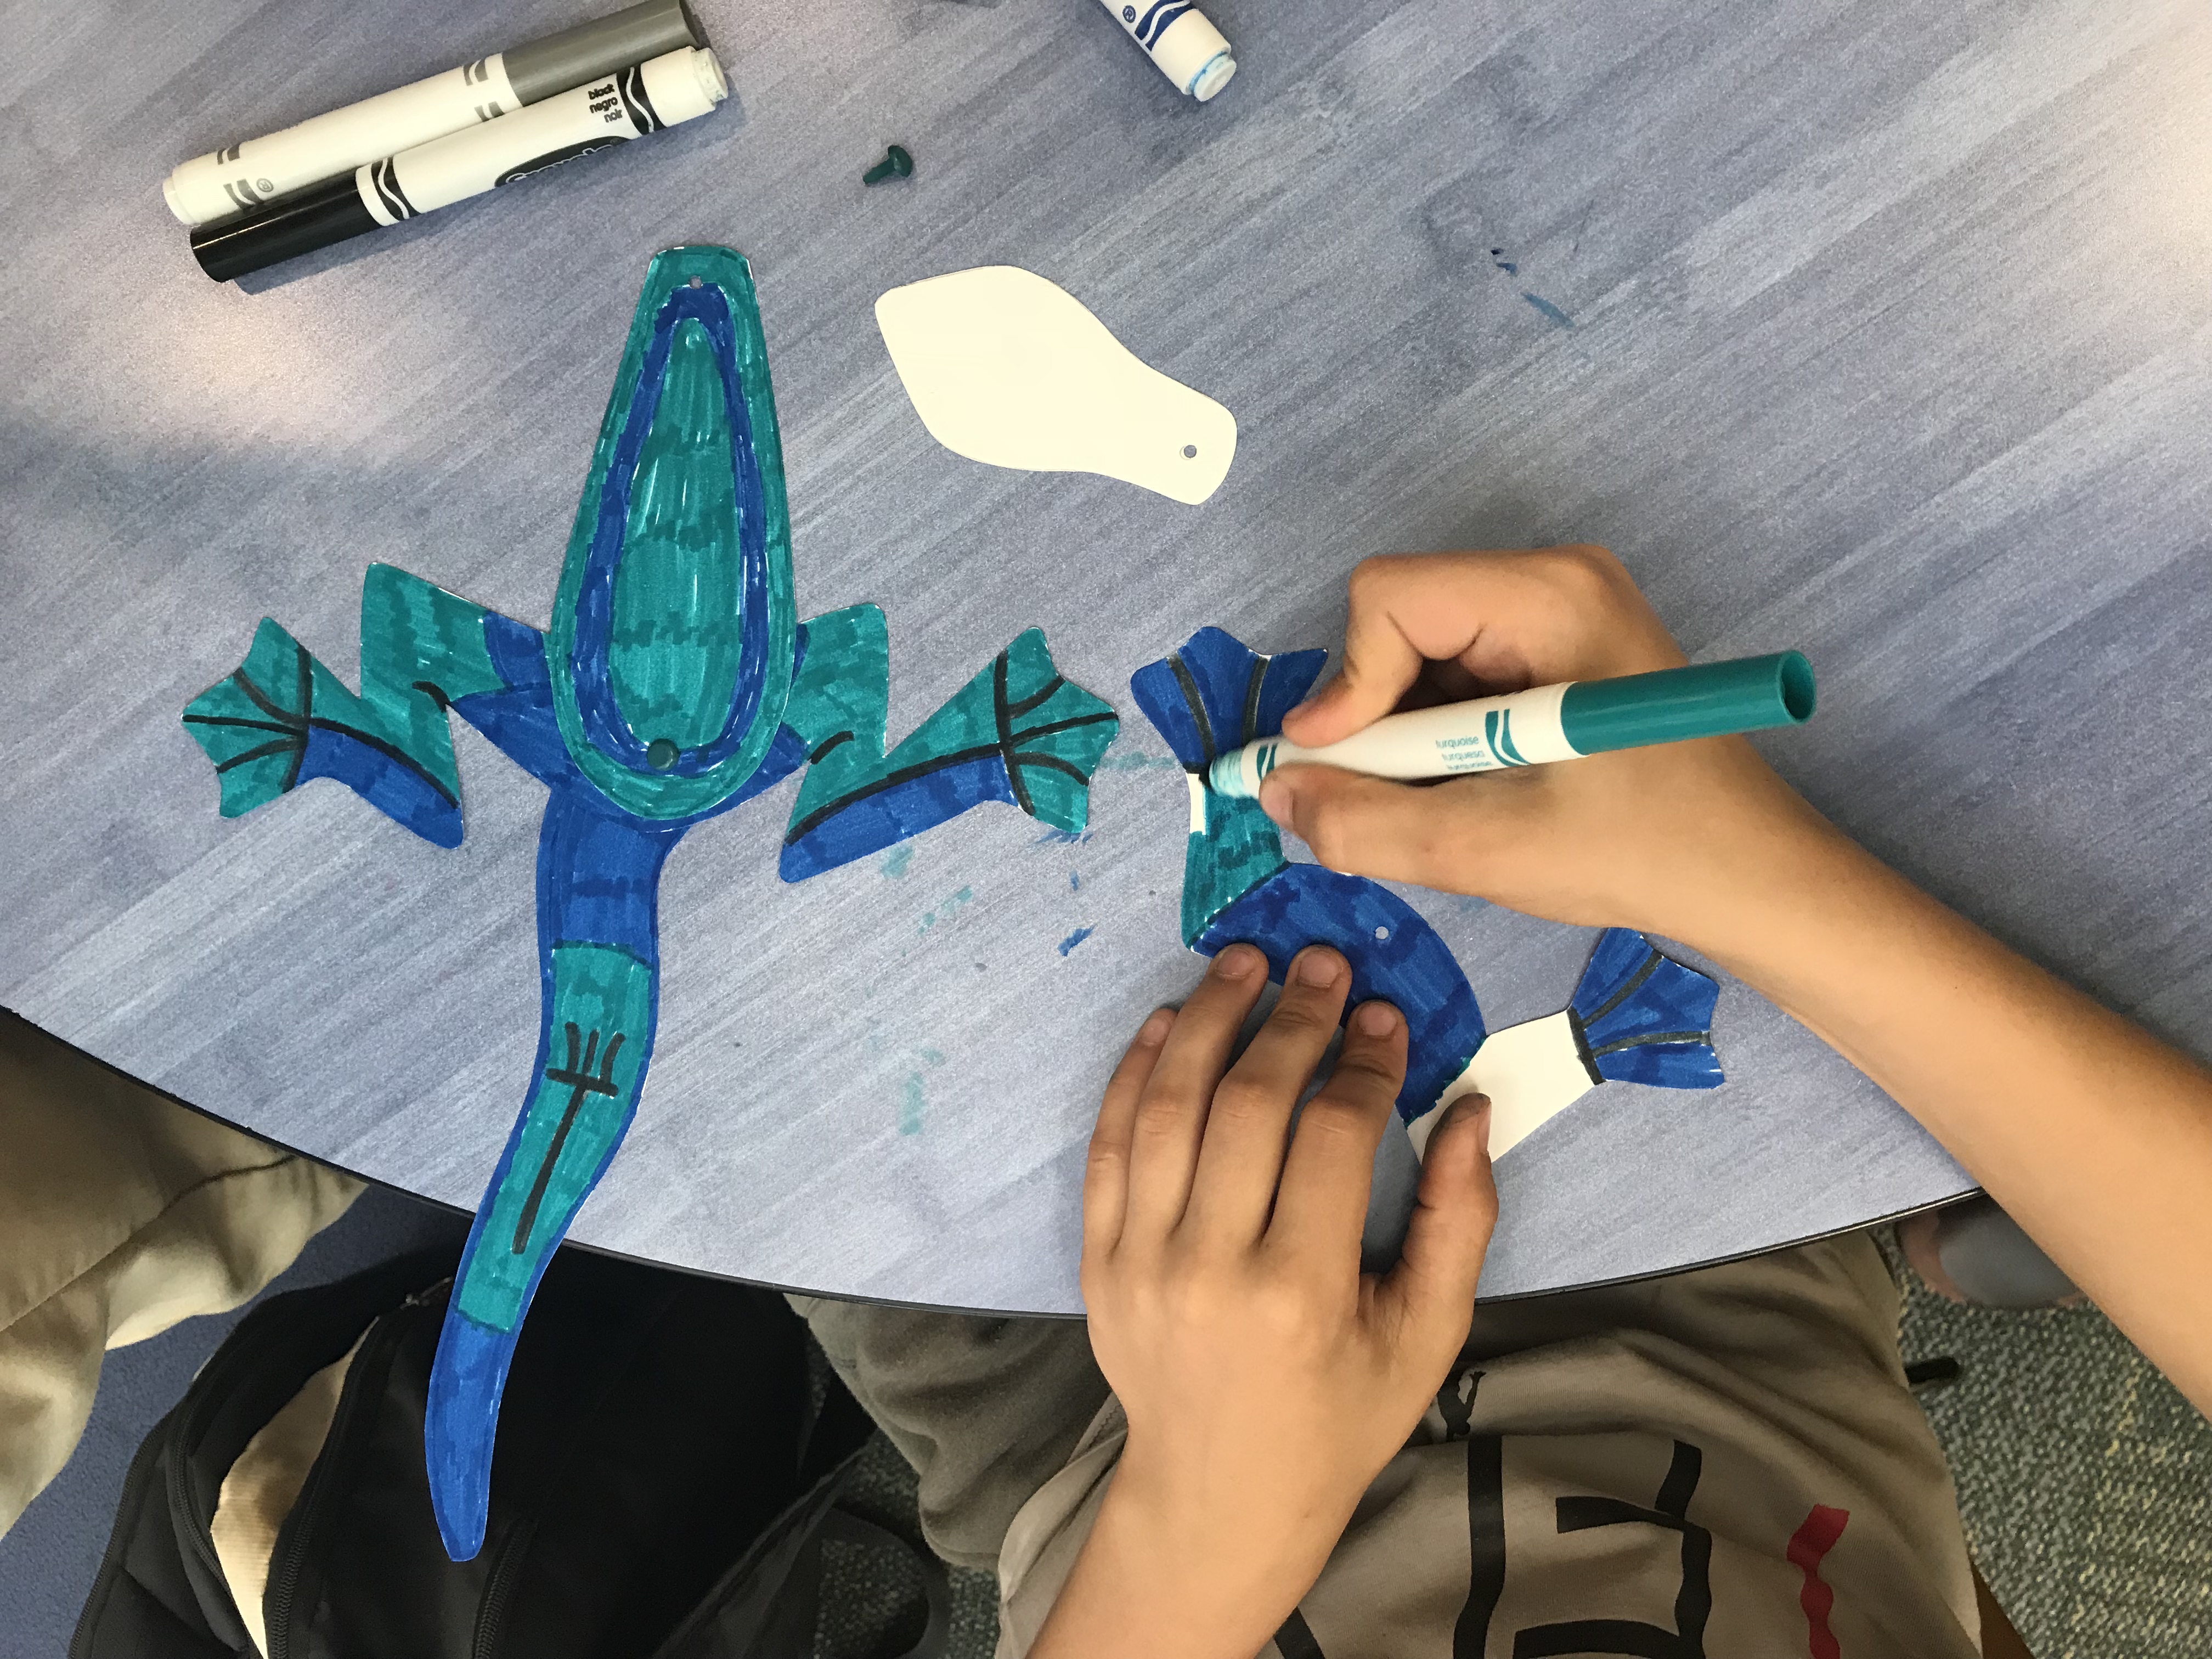
- Use a pencil to trace around each of the templates: head, body, tail, front legs, and back legs. You’ll need one of each.
- Cut out each body part using scissors.
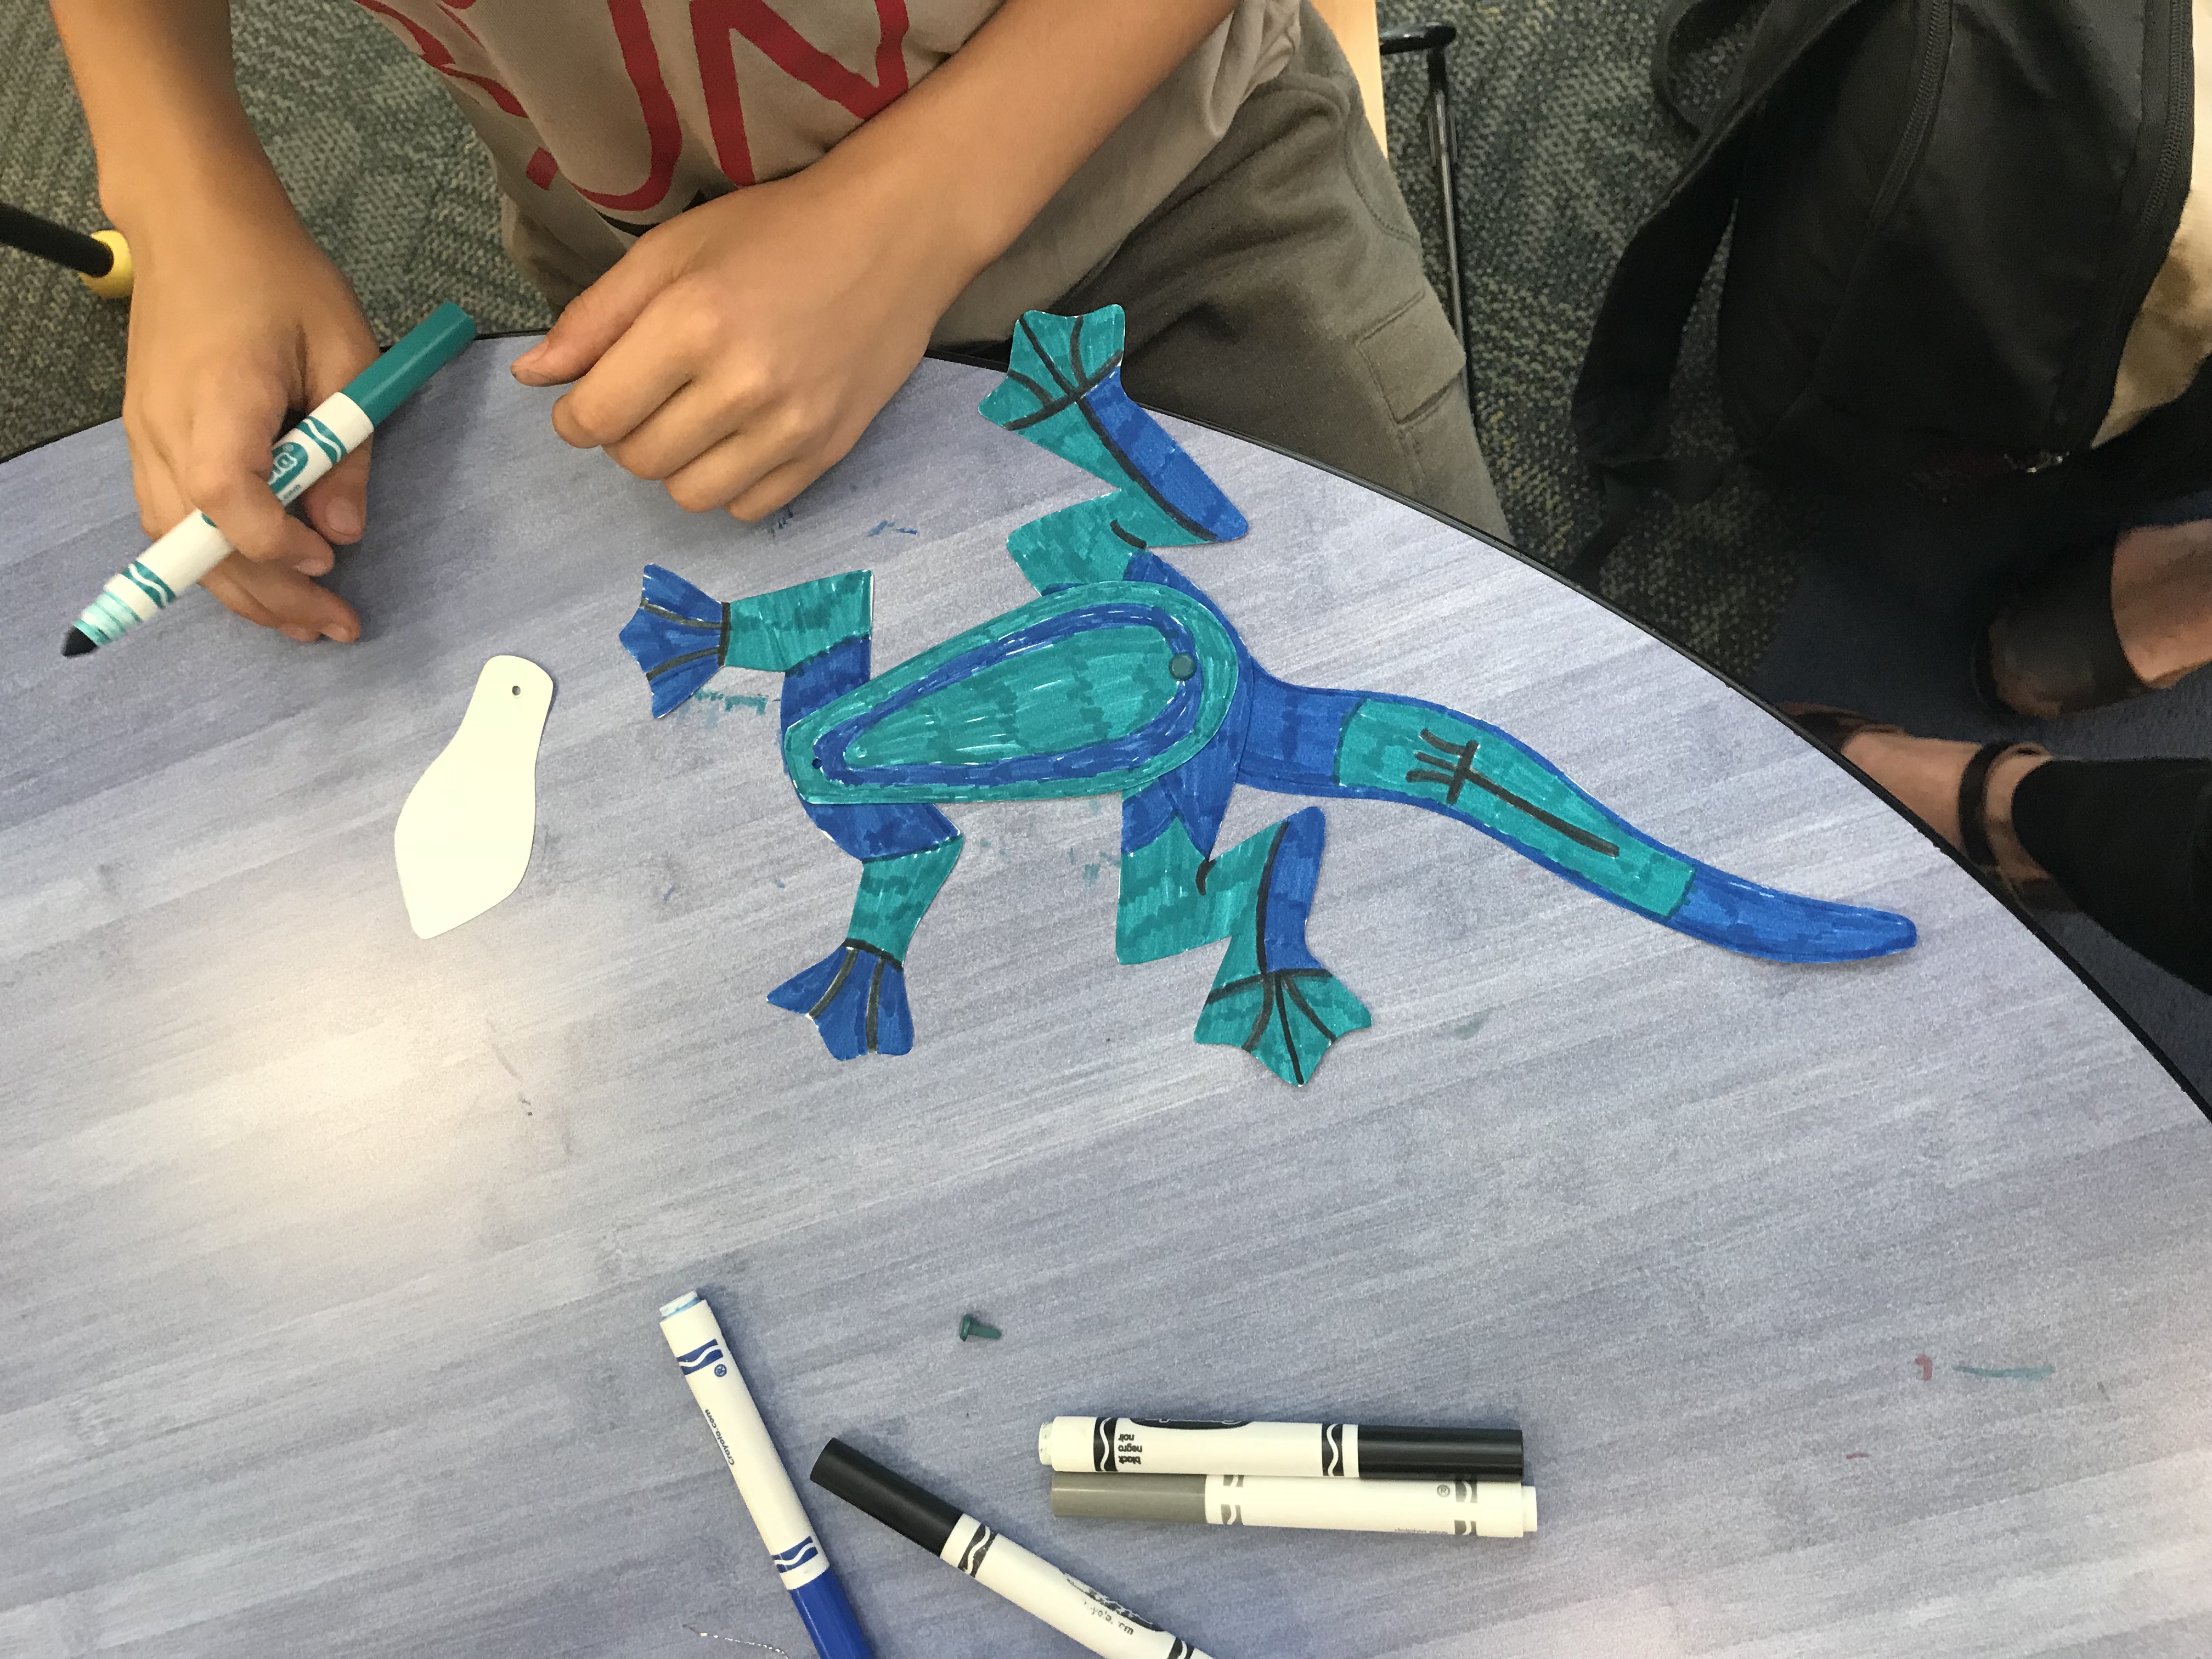
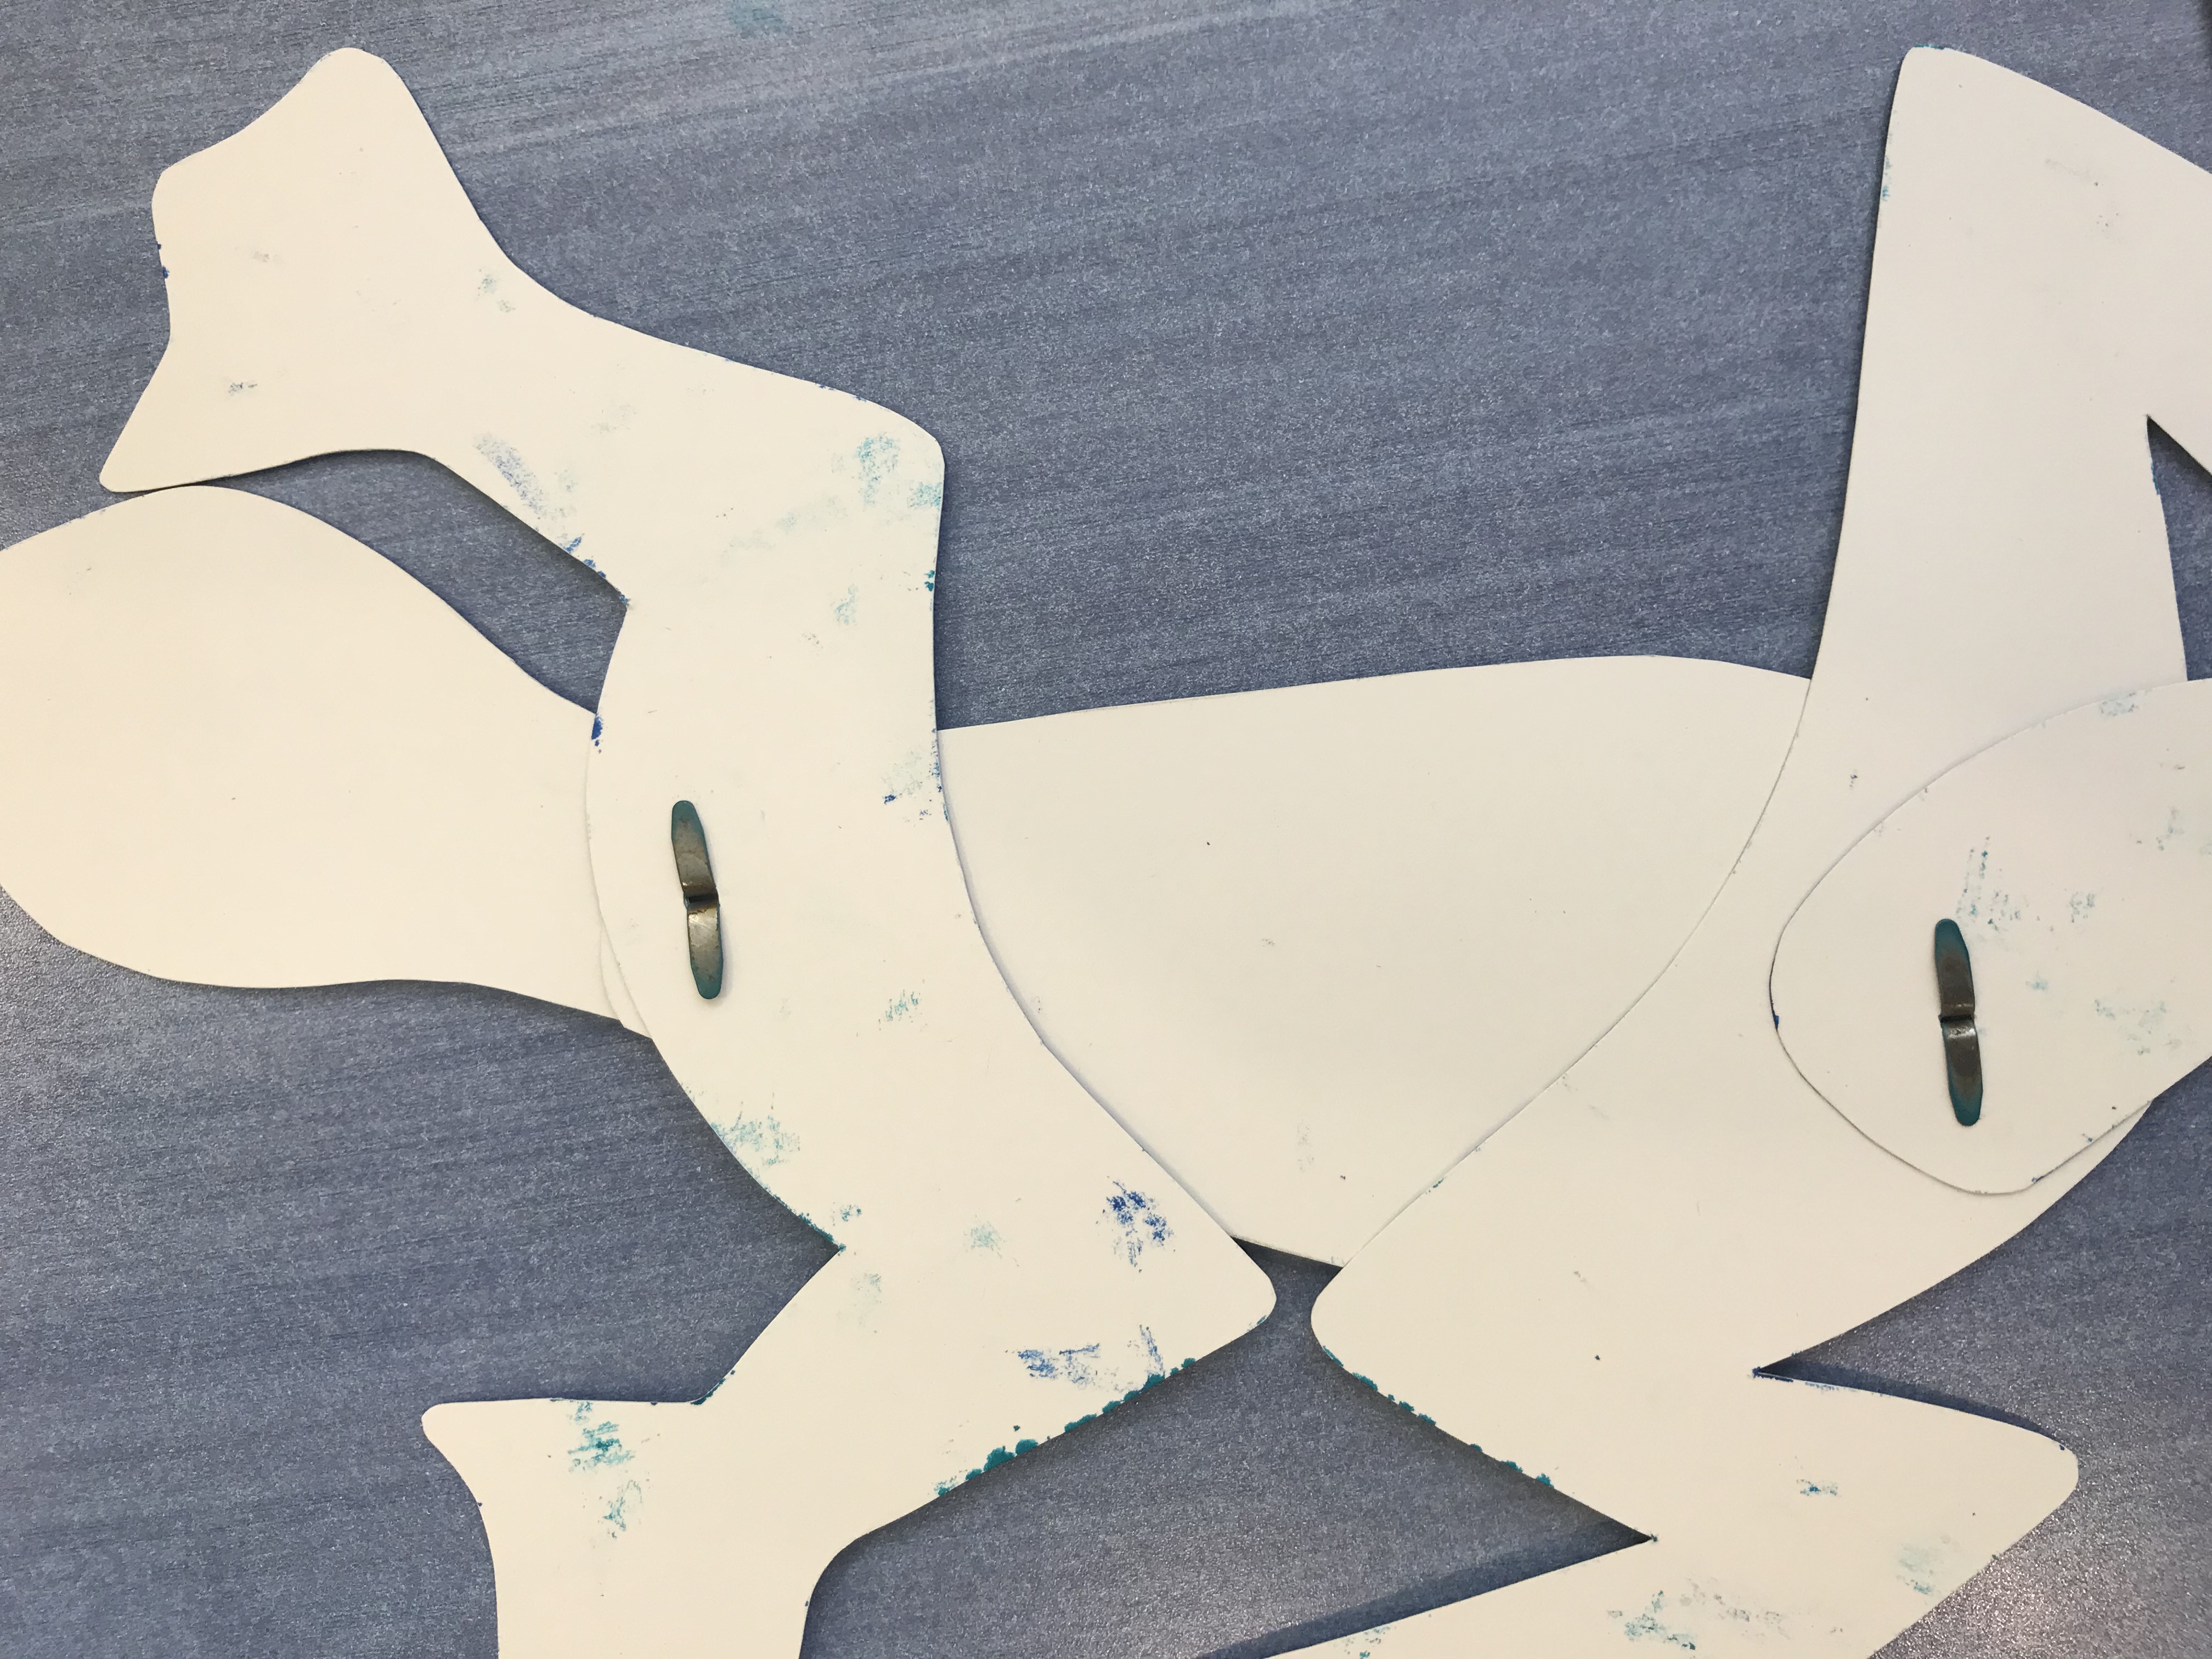
- Use a hole punch to make holes. Head: at the base of the neck. Tail: at the broad end. Body: one hole on the skinny end, one hole on the wide end. Legs (both sets): in the middle of the center part.
- Use markers, pencils, crayons, or pastels to draw a different pattern on each body part.
- Line up the hole in the back of the body (the thicker end) with the holes in the back (bigger) legs and the tail.
- Stick a brad through and secure it in the back.
- Line up the hole in the front of the body with the hole in the head and front legs. Secure a brad there too.
- Add googly eyes using tacky glue.
Tweak It!:
– Create a different moving animal, using the same concept: draw each body part and decorate each section. Decide where the joints are, and punch holes where the body parts will connect. Attach with brads.
-Embellish your lizard (or other animal) with sequins, buttons, feathers, or stickers. (Just make sure that none of these extra elements impede movement!)
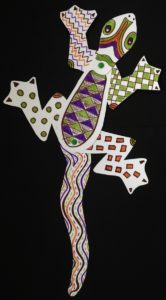
Lizard by James: