Lesson: Local Map Doodles
 Have you noticed that “coloring” is having a moment? These days, you can buy coloring books everywhere – even in the grocery store line! This lesson offers the same mind-quieting, free-flowing benefits of coloring, with some added challenge and dimension. You can use that 1980’s atlas gathering dust on your highest bookshelf or – if you threw that one out long ago – just print a map or two straight off the internet!
Skill Level: age 5+ (probably most appropriate for 10+)
Time Frame: 20 min+
Goals
-To inspire creative thinking by using maps as a starting point for an original artwork.
-To talk learn about and explore color theory concepts such as complimentary colors, analogous colors, tints and shades, and monochrome.
 Materials
Black and White Maps (photocopies work)
9×12 White Cardstock
Circle Templates to trace around
Pencil
Scissors
Blue Painter’s Tape
Colored Pencils or Fine-Tipped Markers (Example uses Crayola Supertips)
Teacher Preparation
- Find some black and white maps that you think are interesting. You can find old maps of Asheville, Durham, Winston Salem, and Charlotte, and many other cities just by poking around on the internet. You can print them and use them this way, or if you have access to a copier, you can also zoom and copy sections of the map you want to use.
- Make your viewfinder. Trace a few different size circles (4” and smaller) onto pieces of white cardstock – one circle per page – and use scissors to cut out the inside of each.
 Steps
Steps
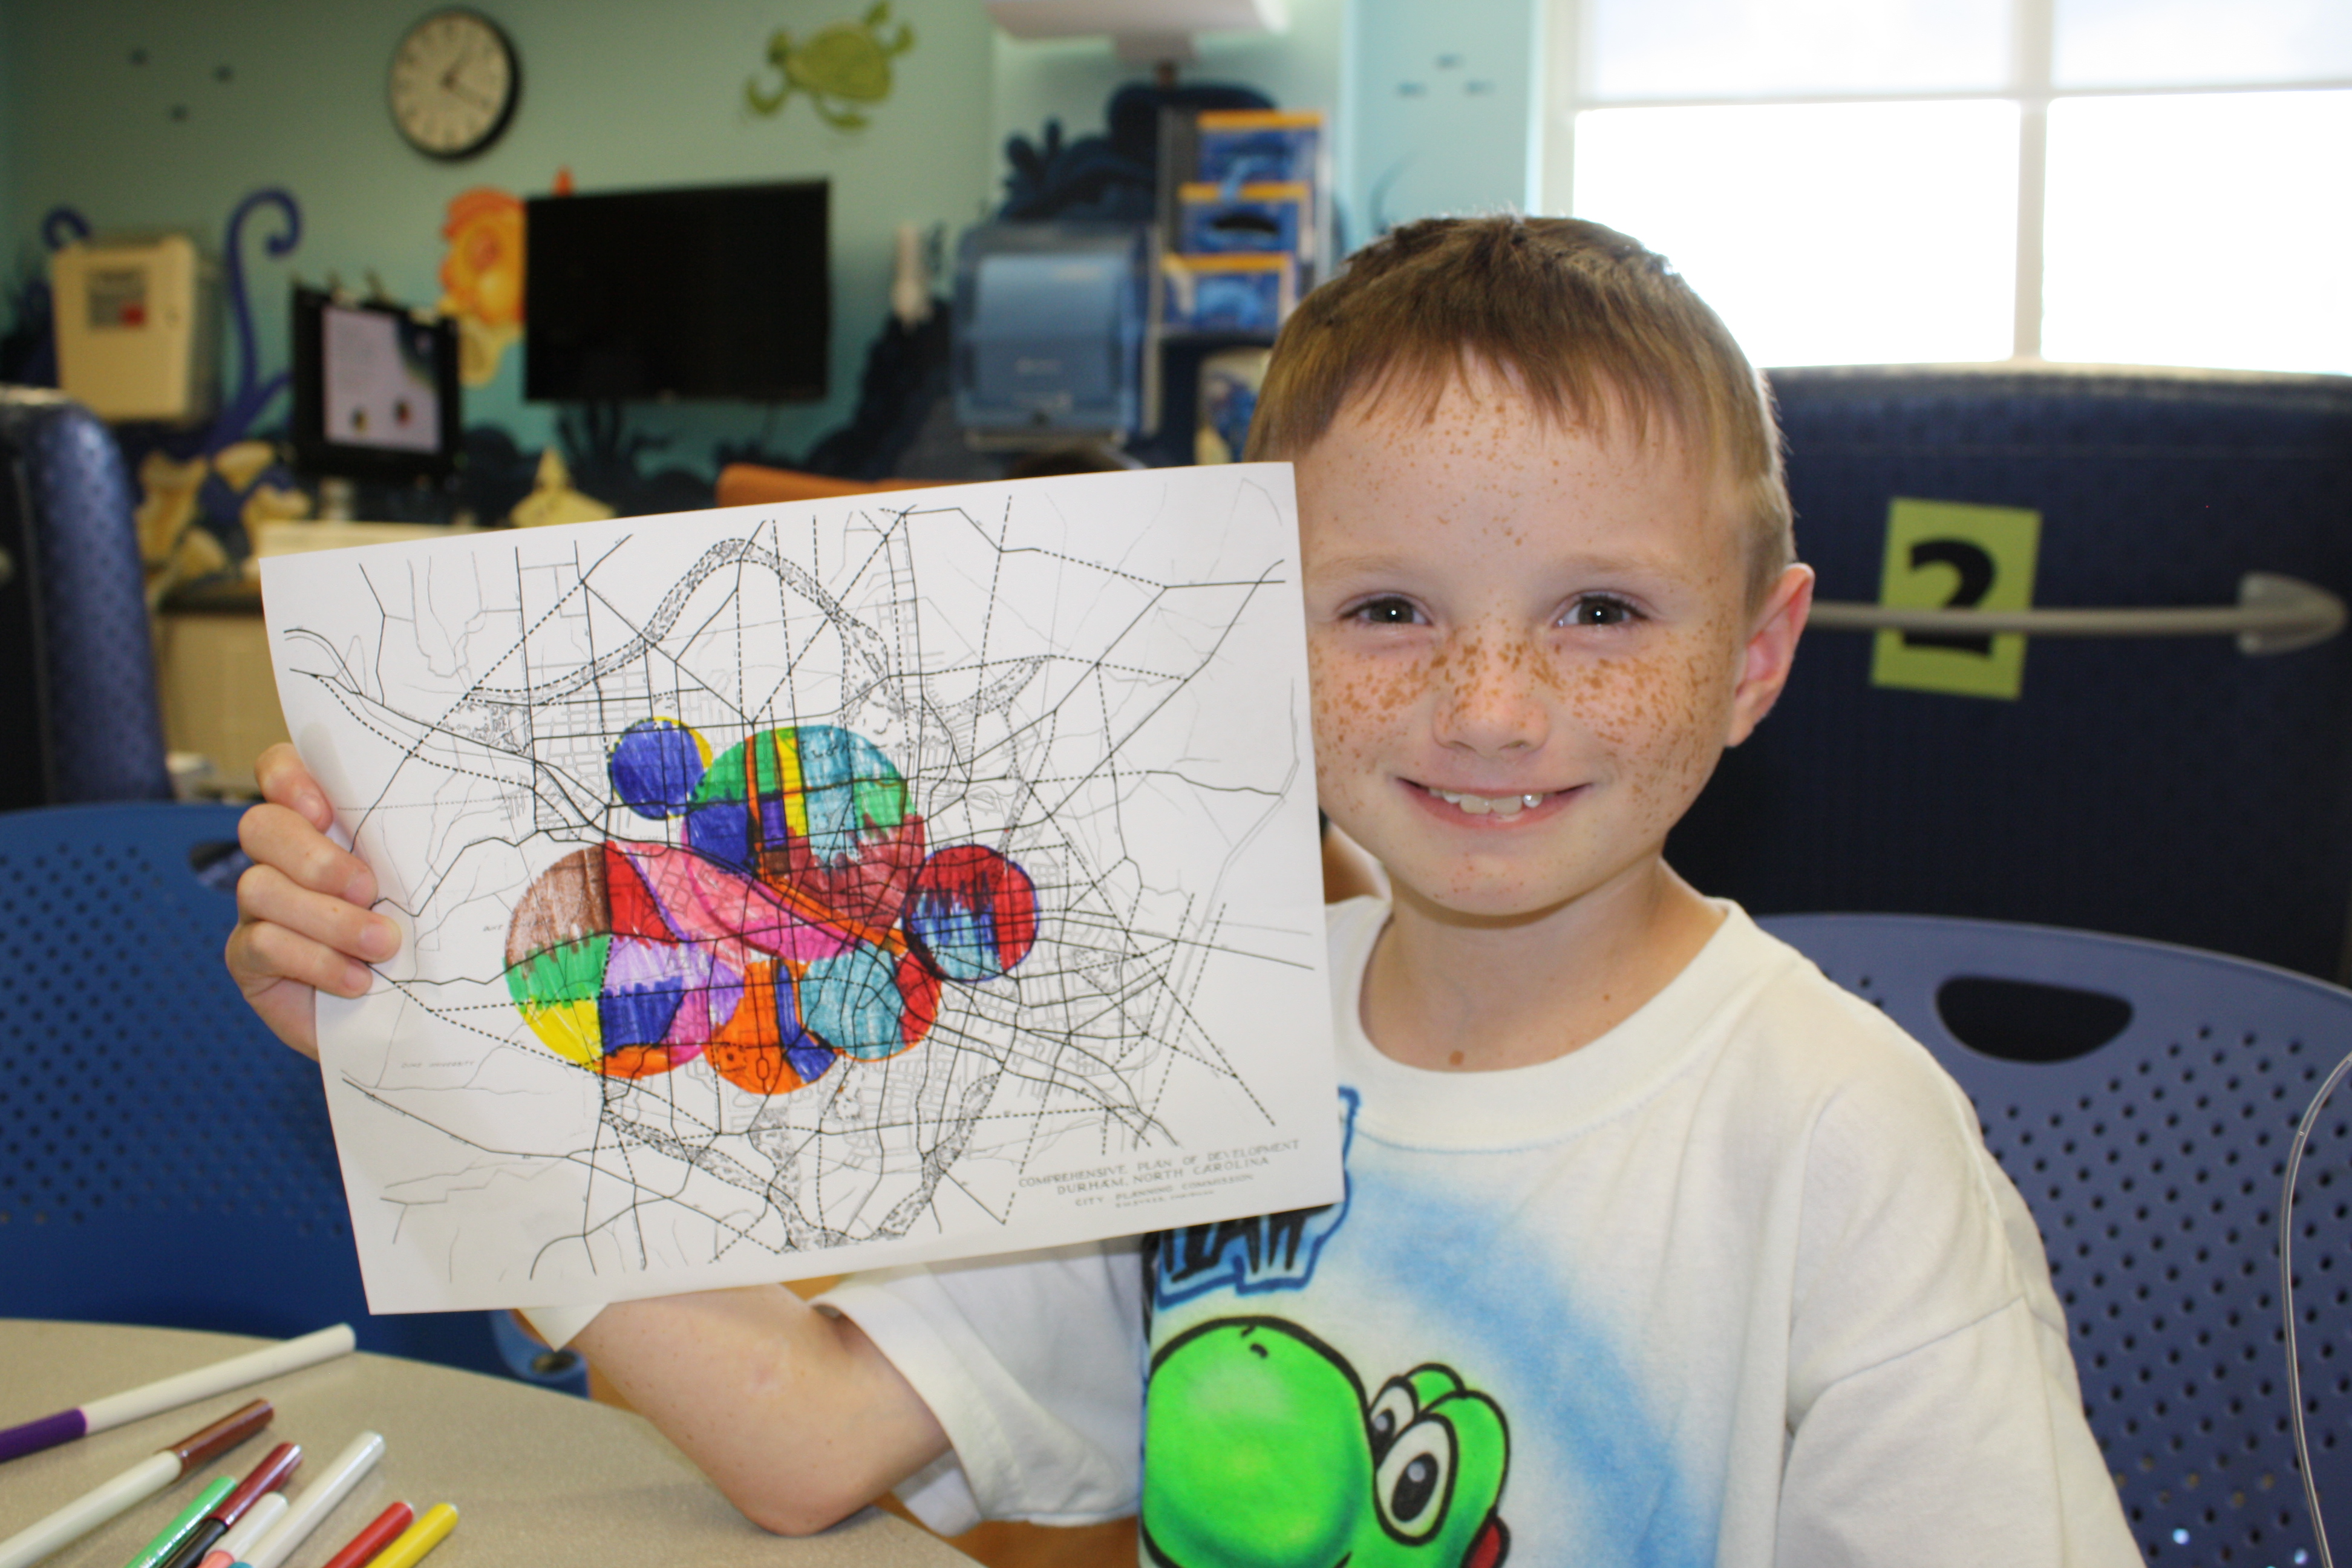
- Select a map that speaks to you. It could be of your hometown, a place you’ve been, or a place you hope to visit.
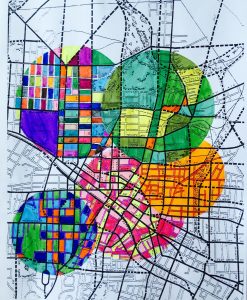
- Select one of the circle stencils to start with. Slide the circle around on your map until you have a section of the map within the circle that you’d like to highlight. Once you find it, tape the circle in place with a piece of painter’s tape.
- Use the markers or colored pencils to color the map inside the circle. Choose a color scheme for this circle. You could choose a monochromatic color scheme using different shades of one color. You could choose to use two complementary colors. You could choose only primary colors. You
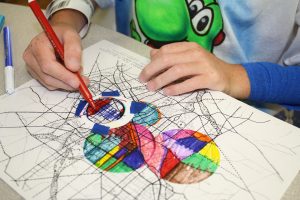 could choose to use just your three favorite colors. Whatever scheme you choose, make sure you stay consistent inside the circle.
 - Once you finish coloring that section, lift the circle stencil to reveal your design.
- Repeat steps 2-4 as many times as you like, selecting a different color scheme for each of your circles.

Tweak It!
-Make your own stencil! Instead of using the circles provided, design your own simple outline on the white cardstock, then use scissors to cut out the inside of that design. Repeat steps 2-4 with your shape.
Ideas for simple designs:
- A heart, which you can place over your favorite place in your city!
- An airplane silhouette, over the place you want to visit.
- A word, in simple block letters: “home”, or “love”, or the initials of your city: