C R E A T E: Mixed Media Flowers
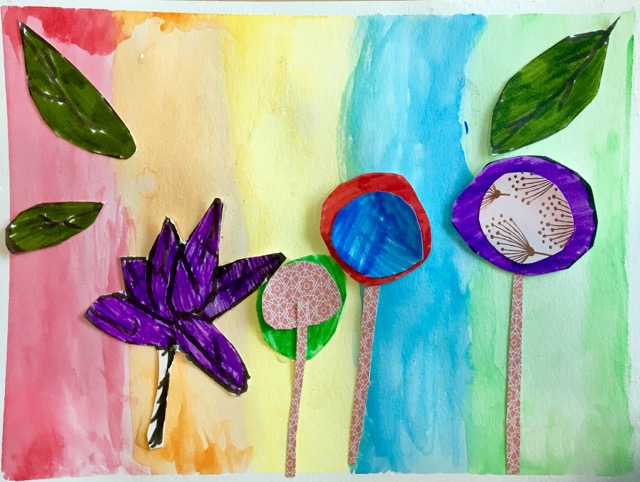
Bright Flowers by Aby
If we had a Lesson Plan Hall of Fame, this one would definitely be in it. It’s simple, approachable, and easily tweaked to accommodate all ages and abilities. Plus: painting! And watercolor effects! and glue and buttons! Seriously, what more could you want from an art lesson?
But really, the magic of it — the whole reason it’s Hall of Fame-worthy — is that even though we’ve been teaching this lesson at our tables for years, we’ve NEVER ONCE seen two collages alike. The steps are simple and the creative choices are open-ended, and the results are, always, inspiring.
Materials
- Watercolor Paper 9X12
- Easy-release Painter’s Tape
- 5”X6” pieces of watercolor paper or cardstock
- Watercolor Paints, markers, crayons, colored pencils
- Brushes
- Cups for Water
- Scrap Paper
- Plastic wrap, salt, alcohol, bubble wrap, etc for use with watercolor
- Scissors
- Buttons
- White Glue and/or glue sticks
Directions
- Use painter’s tape to tape the edges of a piece of watercolor paper to the table. One half of the width of tape should be on your paper, and half sticking it to the table.
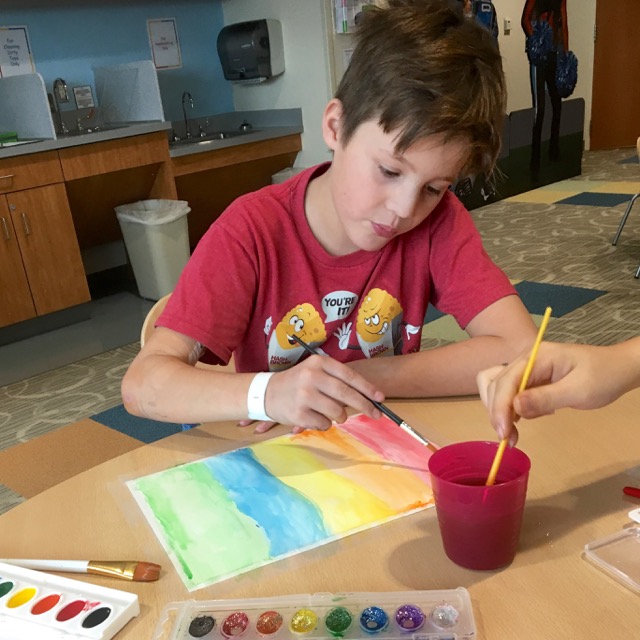
- Paint the entire sheet of paper, right up to — and over — the painter’s tape. While the paint is still wet, sprinkle salt over it to create tiny star-like dots. (Alternatives: cover it with a layer of plastic wrap and smoosh it slightly, or drip rubbing alcohol for organic bubble shapes.) Leave in place until dry.
- While your background is drying, fill in 3 different small pieces of watercolor paper or cardstock with paint, markers, pencils, crayons, pastels, or any combination of materials. Fill in all the white spaces. Use as many colors and techniques as you would like.
- On a fourth piece of small paper, use whatever materials you like to create some green textured paper for stems.
- When your flower papers are dry (if applicable), turn them over and on the back of each draw one small circle, one medium circle, and one large circle. Cut these circles out.
- Draw vertical lines about ¼” apart on the back of the green paper you made. Also draw some leaves and/or pods. Cut these out as well.
- Choose any combination of large-medium-small circles from the ones you have cut, and layer the circles so that the smallest is on top. This will make one flower.
- Repeat step 7 to make two more flowers.
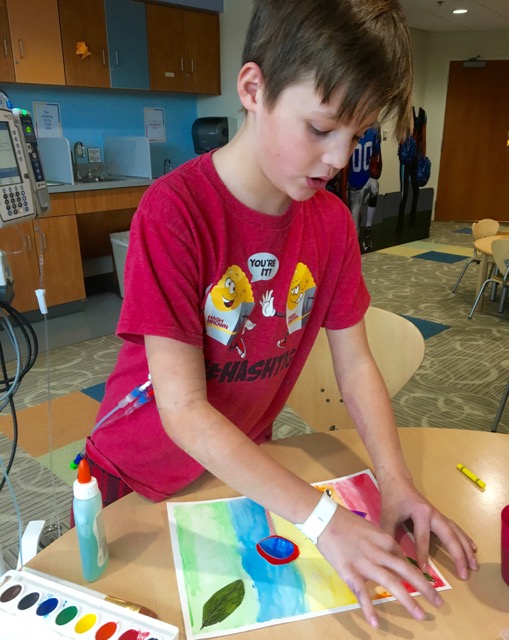
- Peel the painter’s tape from the background paper you painted in step 2. Glue your stems down, making each stem a different length/height than the others.
- At the top of each stem, glue a flower.
- Finally, use tacky glue to glue a button to the middle of each flower.
- If desired, add details using markers or crayons.
Tweak It!
Use patterned scrapbooking paper, magazines, old book pages — in fact, any paper your heart desires — in place of hand-decorated papers!
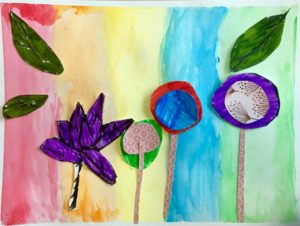
Mixed Media Flowers by Hunter
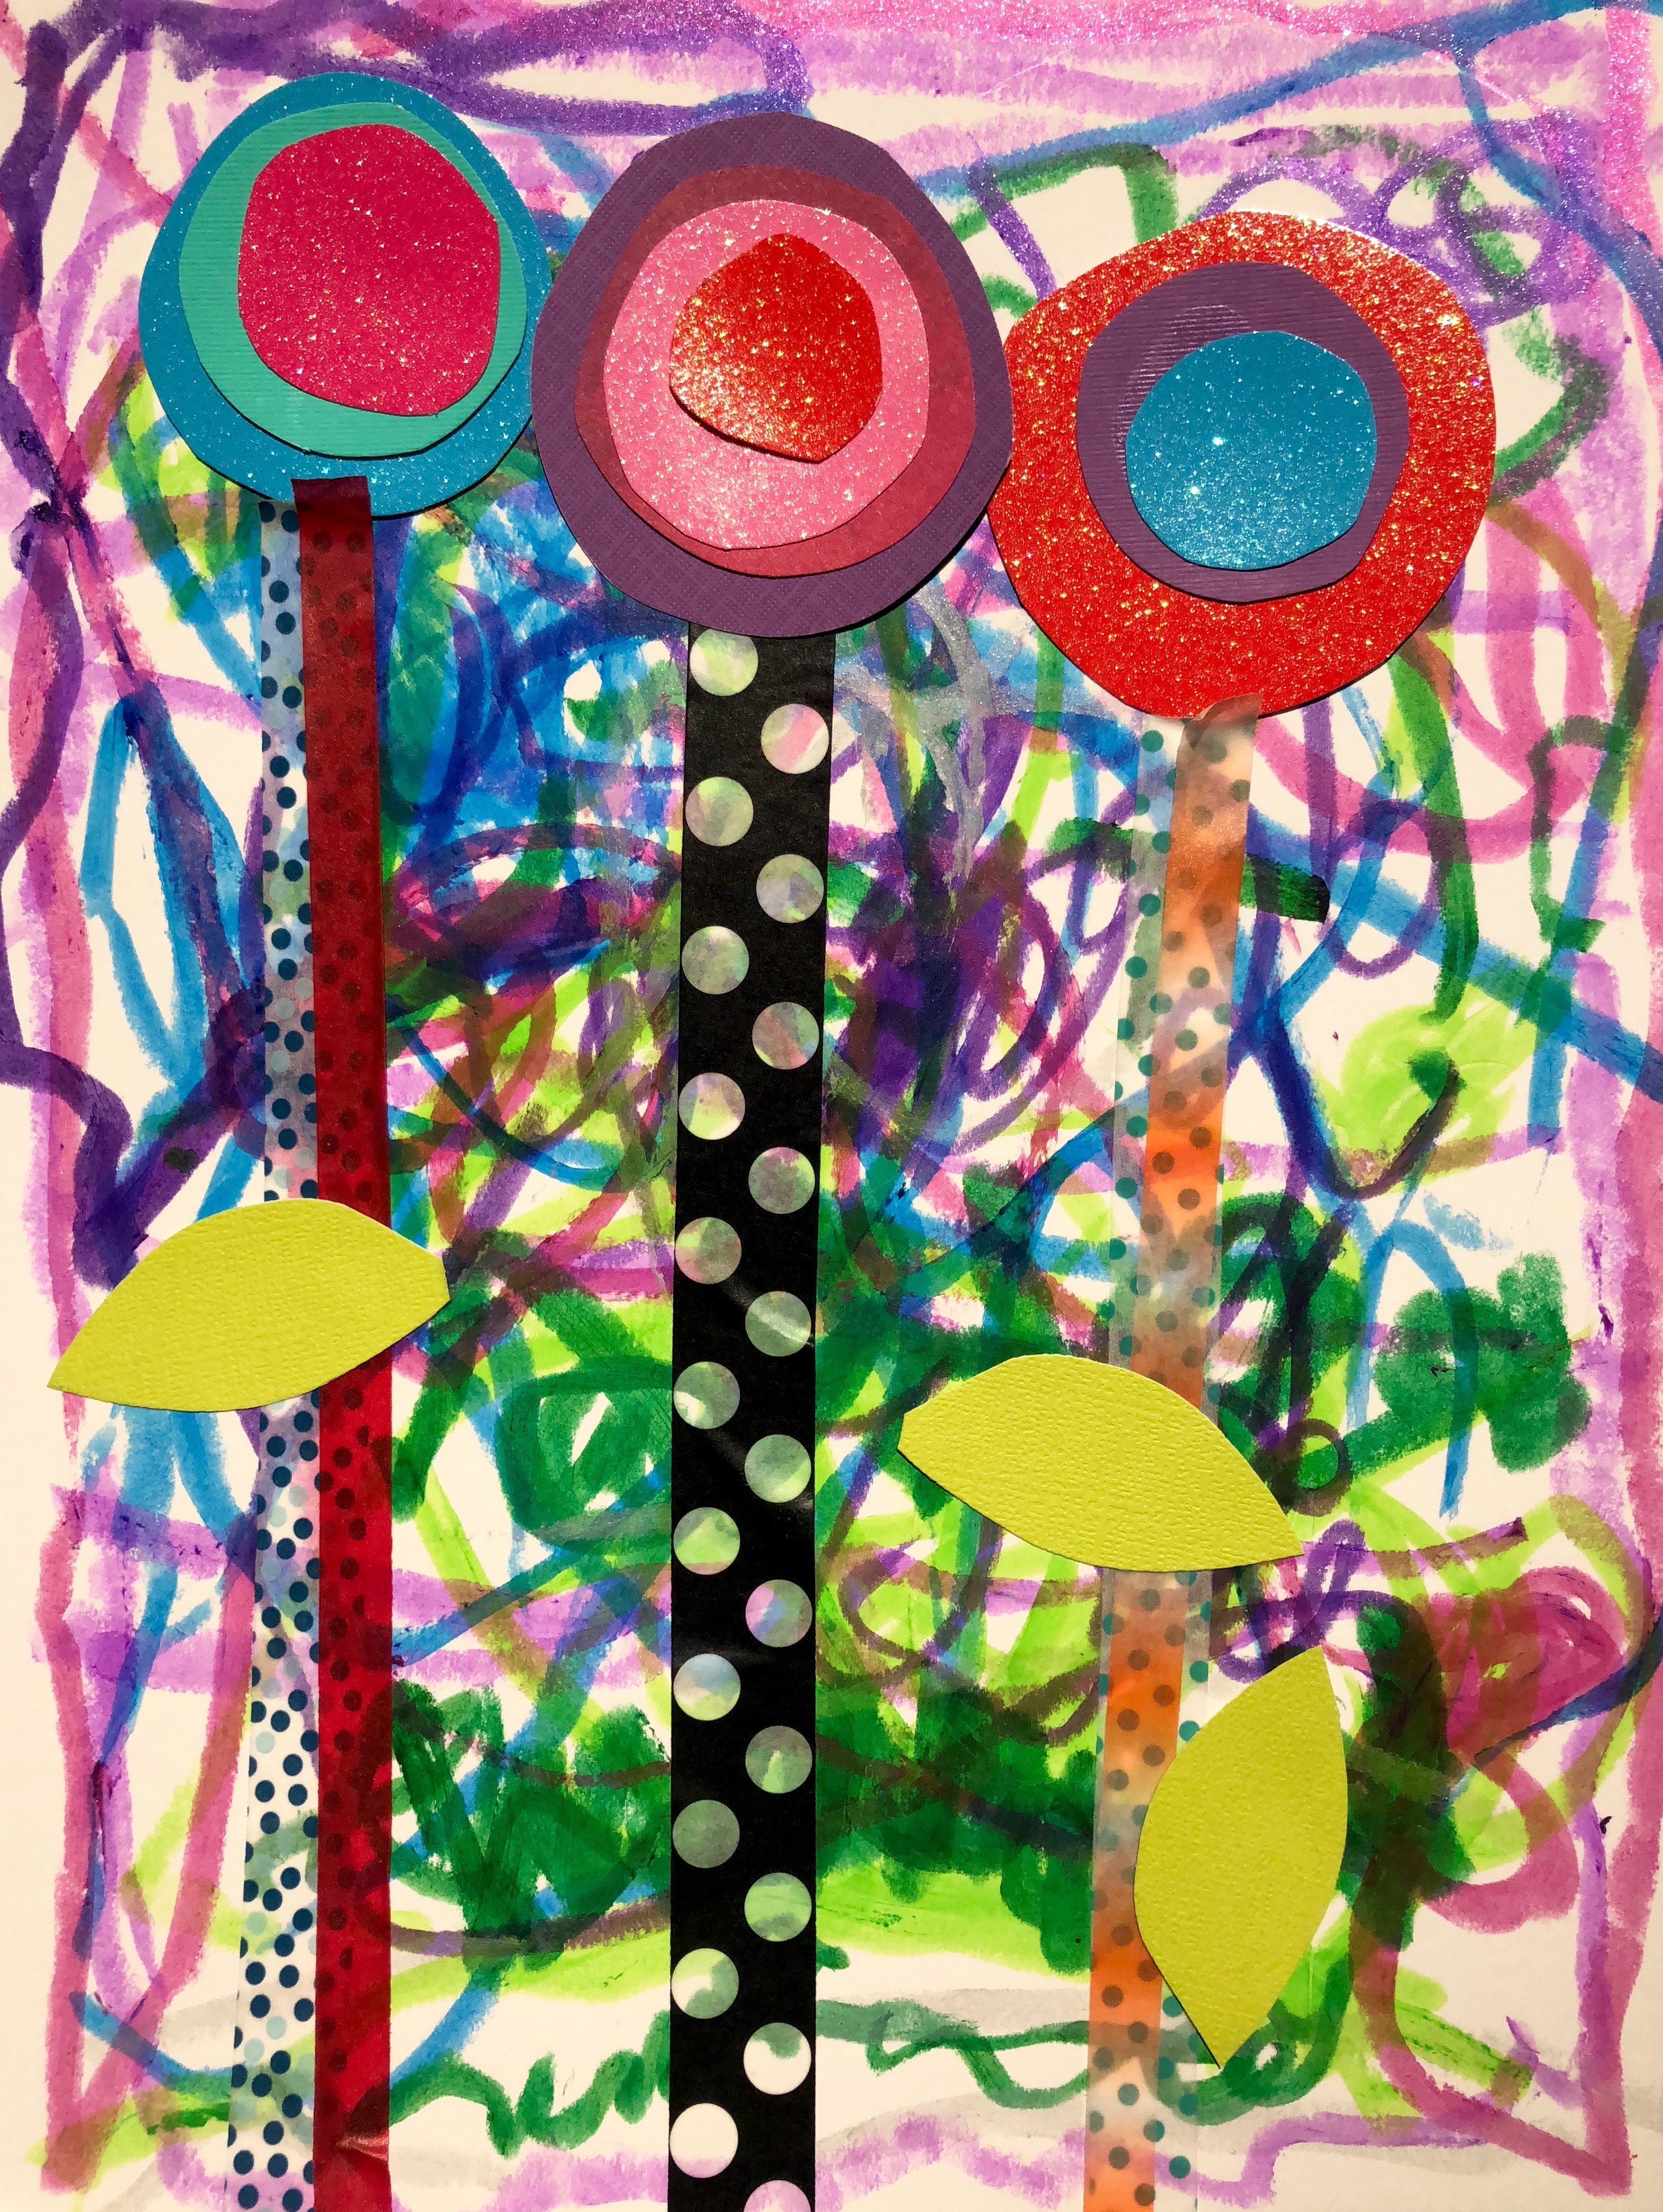
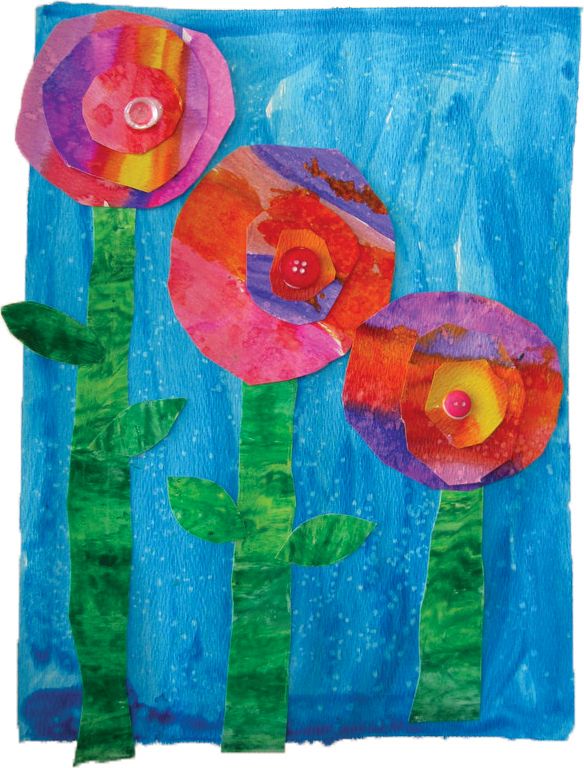
Sparkle Flowers by Alexis