Lesson: Tie-Dye Mini Portraits
This quick, fun self-portrait project uses Color Diffusing Paper, but if you don’t have that, you can substitute paper towel or a plain old coffee filter.
Skill Level: Age 3+
Time Frame: 30 mins
Goals:
- To promote self affirmation and self expression though portraiture
- To learn basic art color theory
Materials:
Color Diffusing Paper (or paper towels as a back up; coffee filters work, too!)
Washable markers
Spray bottle
White cardstock
Glue stick
Fine tip back Sharpie
Optional: Ed Emberley’s Drawing Book of Faces
Directions:
- Cut a piece of color diffusing paper into a 8×8 inch square.
- Color the diffusing paper with washable markers. You can choose to place primary colors close to one another so that when water is added, color mixing will occur! Fill your entire sheet with color!
- Place your color diffusing sheet onto a paper towel. Spray with water and watch the colors combine.
- Set aside and let dry.
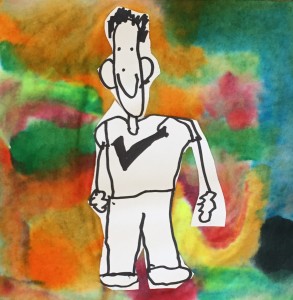
- While your background is drying, use a pencil to lightly sketch a “stick-figure” self portrait. Make sure that it will fit into your background square. (You can use the template below for reference
- Once your portrait is drawn, trace it with a fine tip black Sharpie.
- Cut out your portrait.
- Glue your portrait to your tie-dye background
Tweak It!
For an extra-bright twist, use liquid watercolor in place of washable markers. Use a brush to apply, or drop paint on with a pipette.
Reflection
What colors did you choose for your background? Why did you choose them? How do they represent you?
What are your favorite colors?
©Arts For Life, www.artsforlifenc.org
© 2016 Arts For Life